topics
- Home
- Partner Platform
- Using the Partner Platform as an Azure Service Provider
Complete Additional Configuration
January 7, 2025
After setting up Azure accounts, complete the following additional configuration as required:
Invite CSP Customers to Partner Platform
Wait at least 24 hours after all customer accounts have been added to the CloudHealth Partner Platform to invite customers to their account.
-
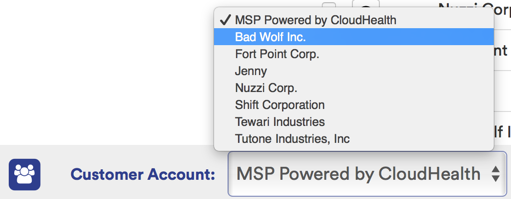
Log in to the CloudHealth Partner Platform. In the bottom-left corner, switch to the customer that you want to invite.
-
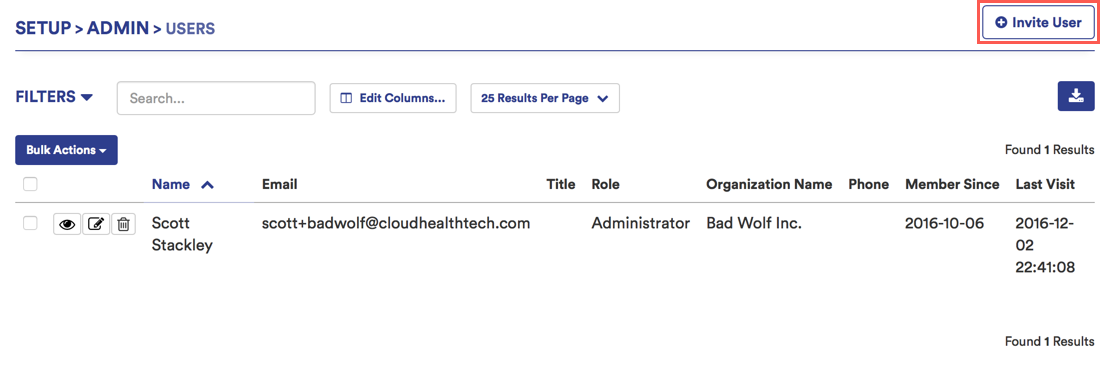
From the left menu, select Setup > Admin > Users. Click Invite User.
-
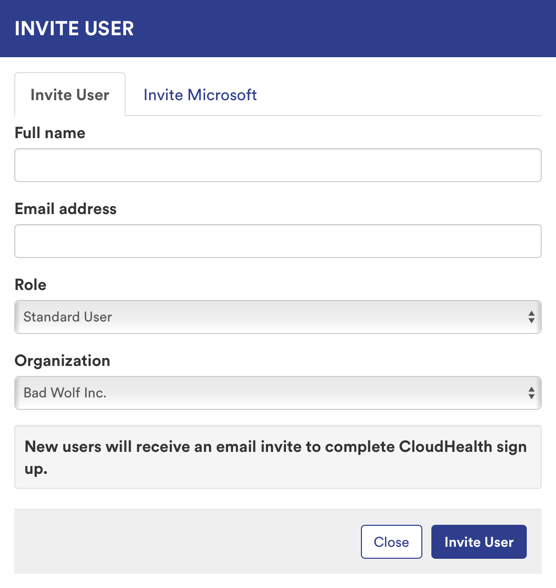
Enter the name, email address, and role of the user you want to invite. Then click Invite User.
Co-brand the CSP Partner Platform
You can co-brand the CloudHealth Partner Platform so that your customers see your logo and branding when they log in to the CloudHealth Platform.
-
Log in to the CloudHealth Partner Platform. From the left menu, select Setup > Admin > Settings.
-
Scroll to the Partner Settings section. In the Account Logo section, click Choose file to upload a logo.
The logo must meet the following requirements:
- Format: PNG
- Dimensions: 150px x 130 px
-
Click Update Company Profile.
Results: When your customers log in, the logo appears in the top-left corner of the CloudHealth platform.
Update Microsoft CSP Partner Account for New Azure Security Model
Microsoft has updated its security model to improve security vulnerabilities and to protect your data from malicious attacks. If you already created and configured your CSP partner accounts in CloudHealth, you must update these accounts to allow CloudHealth to continue to report on your customers' cloud information. For more information, see the Enable Secure Application Model topic.
Enable Multi-Factor Authentication
Microsoft Azure now requires you to enable Multi-Factor Authentication (MFA) in the Azure Active Directory to improve security and prevent malicious attacks on your data. You can enable MFA as a global admin in the Azure Portal or through a third-party service that is compatible with Azure Active Directory. For more information on enabling MFA, refer to the How It Works topic.
Update Microsoft CSP Partner Account
Microsoft has updated its security model so that control panel vendors like CloudHealth no longer need to store your application ID and vendor keys to provide our services. Instead, you must authenticate Microsoft with CloudHealth.
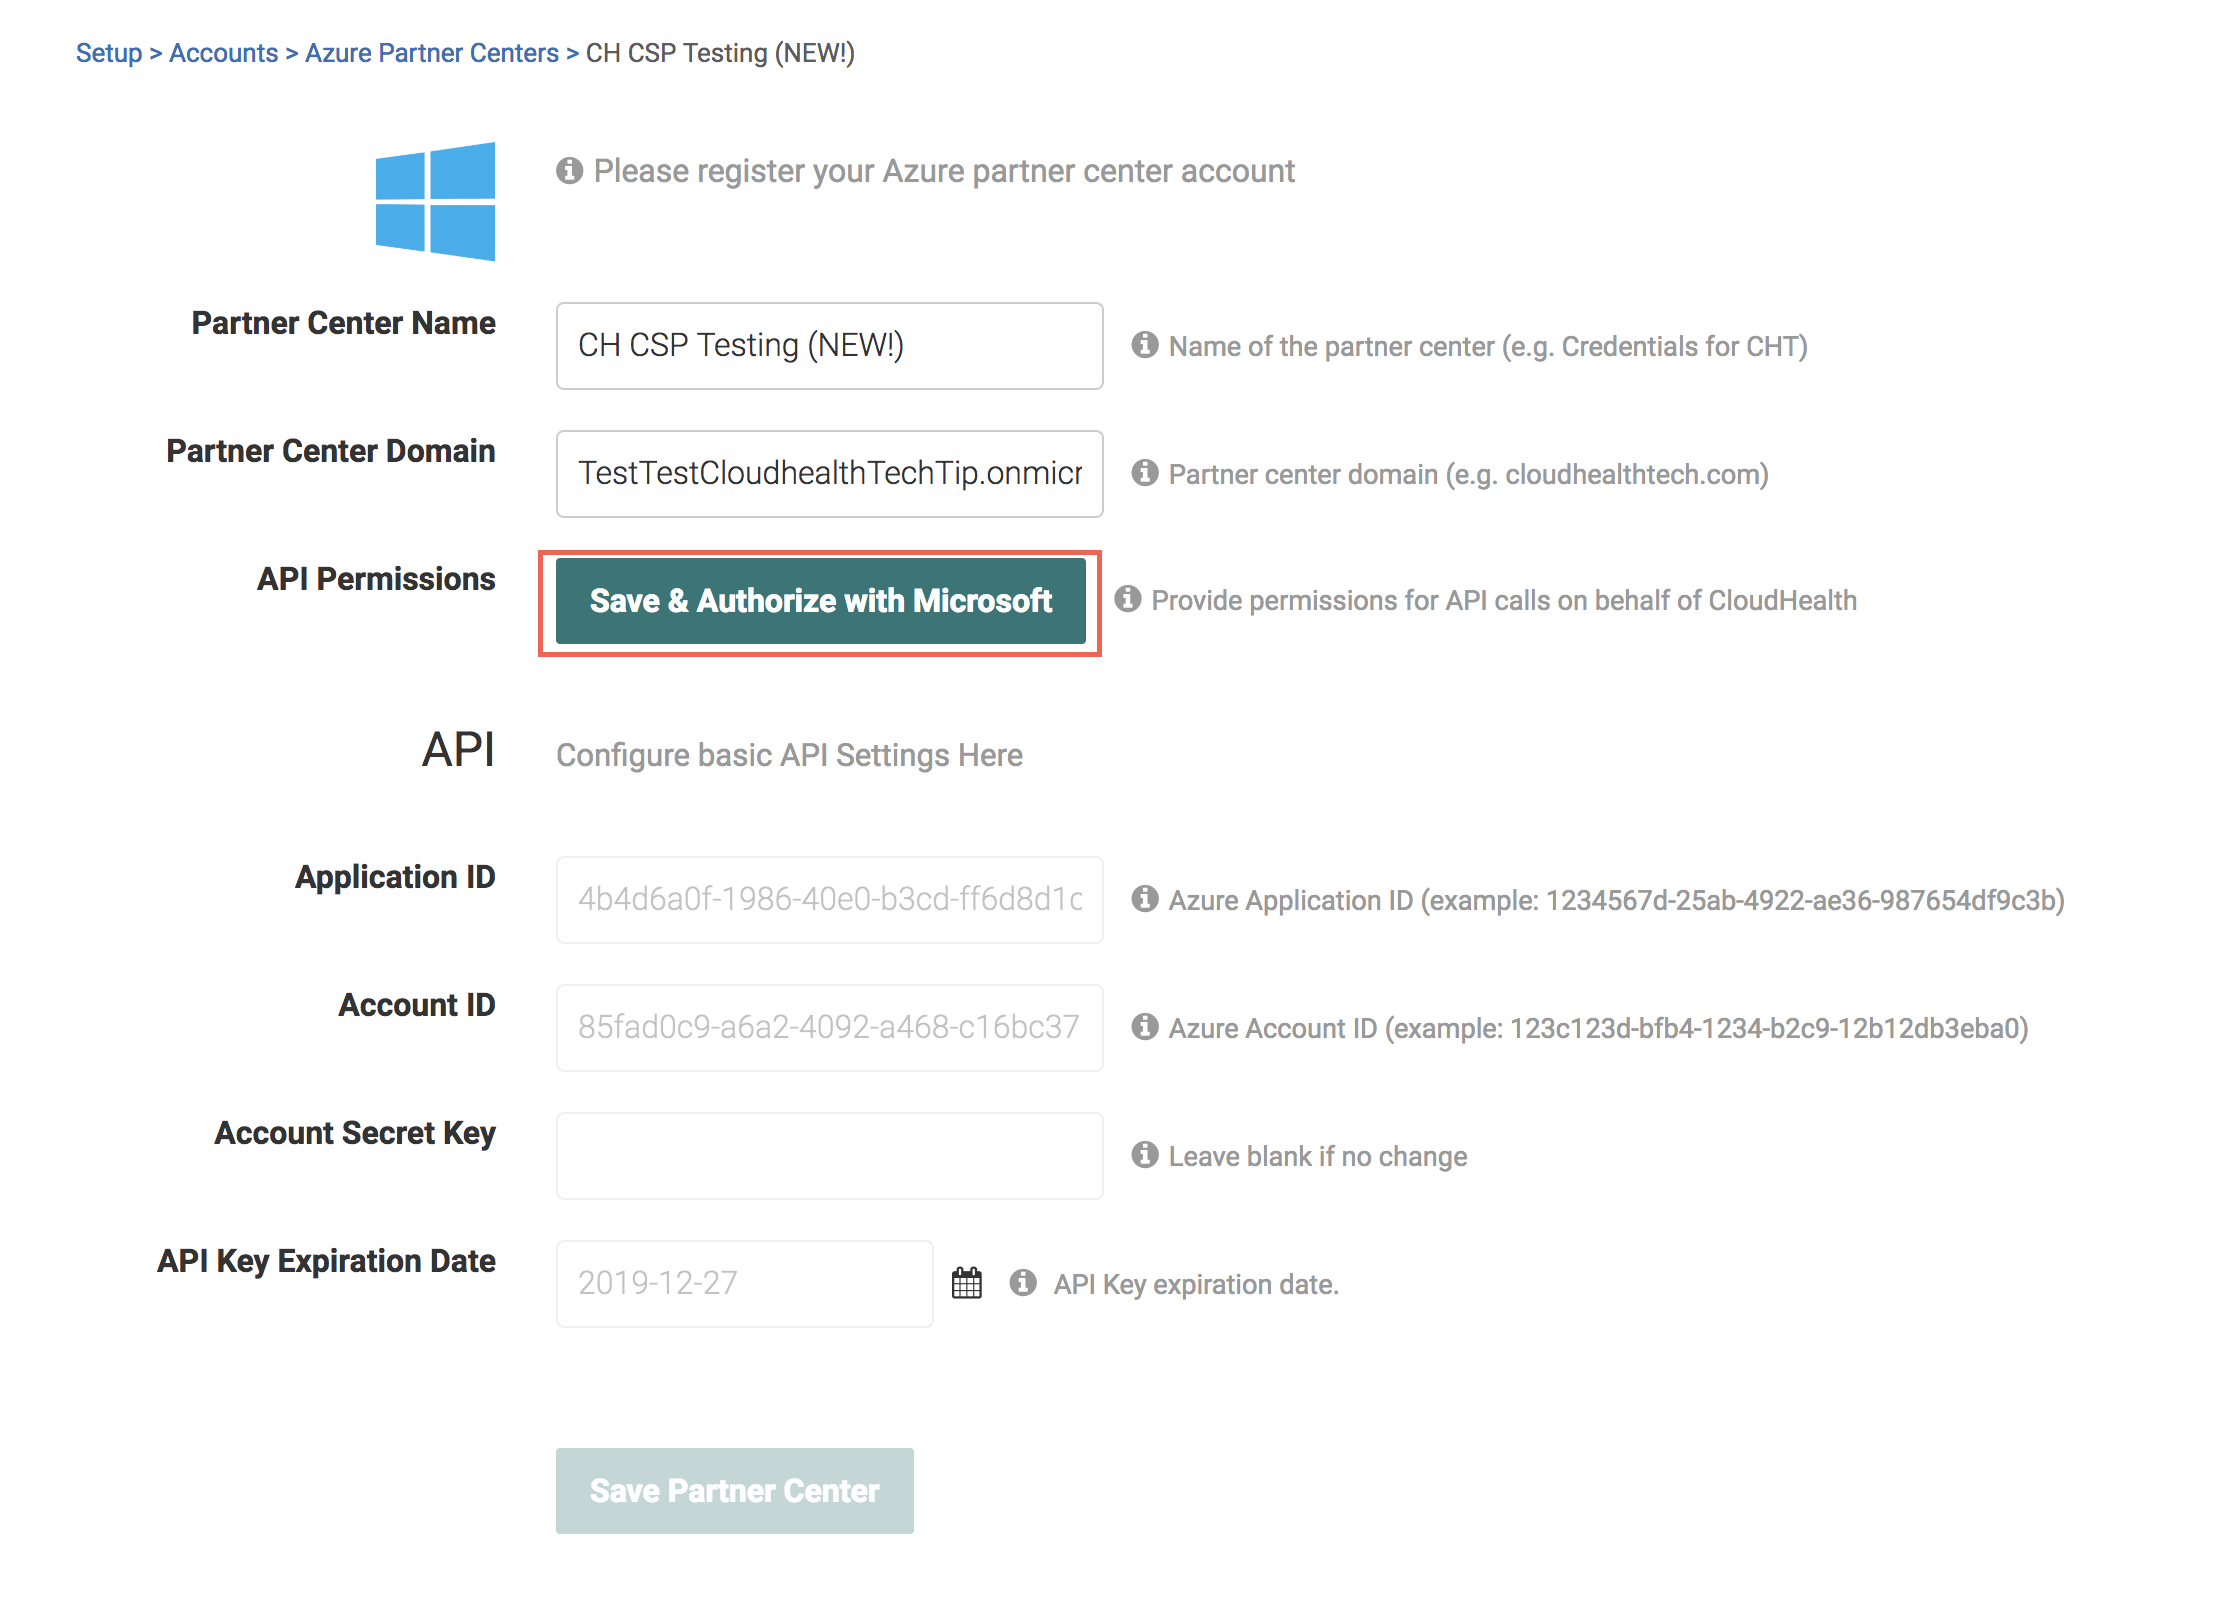
To verify whether you need to authenticate Microsoft with CloudHealth, log in to the CloudHealth Partner Platform and go to Setup > Accounts > Azure Partner Center. If the status of your partner center is Healthy, no action is required. If your status is Warning, complete the steps below to update your account.

-
Log in to the CloudHealth Partner Platform.
-
Go to Setup > Accounts > Azure Partner Center and edit your partner center account.
-
Select the Save & Authorize with Microsoft button.
-
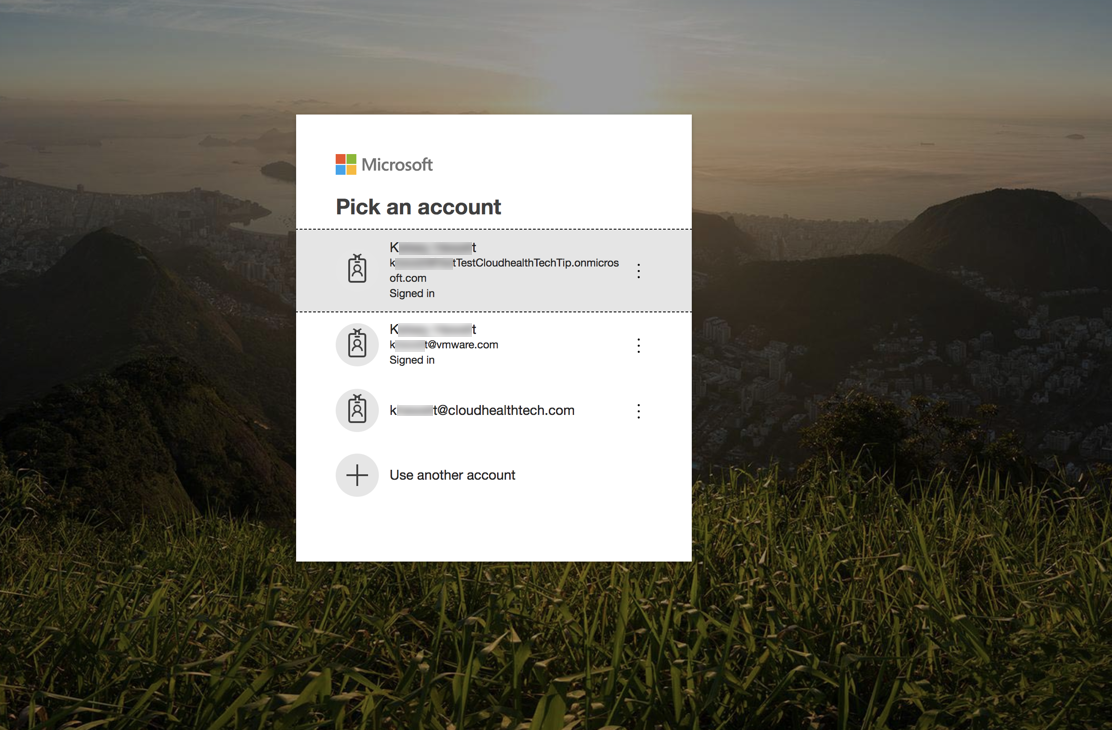
Select the email account you enabled with MFA.
-
Click Save Partner Center.
-
Repeat steps 3-5 for all partner centers with a Warning status.
Send Azure Billing Files to AWS S3 Bucket
You can opt to send your Azure billing files to the same AWS S3 bucket specified in the Bill Generation S3 Bucket field. This is useful if you want to use automation to extract billing files from the S3 bucket for invoicing.
- In the Partner tenant in the CloudHealth Platform, navigate to Setup > Admin > Settings and scroll to the Partner Billing section.
- Toggle the Upload Azure Billing Records to Bill Generation S3 Bucket setting to ON.
 3. Click Update Customer Settings.