topics
An account linked to a consolidated billing account. An account can only ever be linked to one consolidated bill at any time.
Set Up Read-Only IAM Role for Linked Account
You can set up the IAM permissions through one of the following configurations:
Option 1: Create IAM Permissions via CloudFormation
Download and modify CloudFormation Templates
-
Download the following CloudFormation templates:
-
Optionally, edit each template to modify the permissions as needed for your customers.
-
Save each template with unique names.
Upload CloudFormation Templates to S3 Buckets
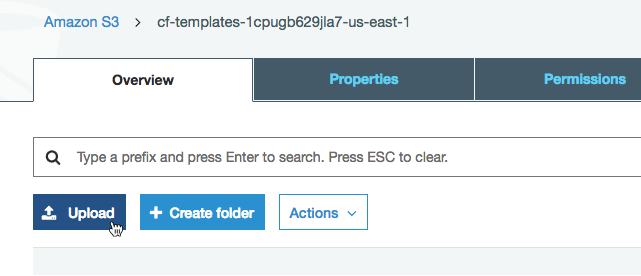
- In the AWS Console, go to Services > Storage > S3. You can either:
- Create a new bucket for CloudFormation templates by selecting Create Bucket (recommended).
- Open an existing bucket.
-
Select Upload.
-
Click Add files and add the saved CloudFormation templates. Click Next.
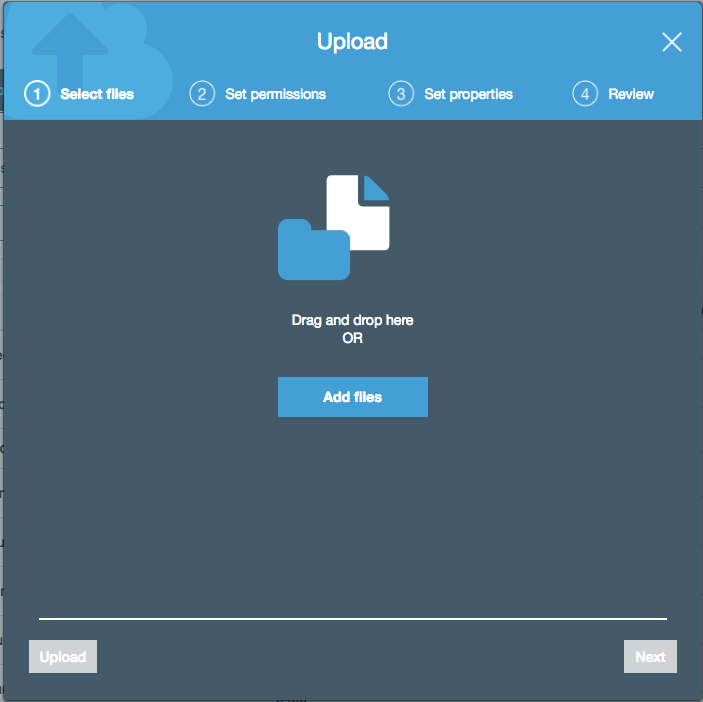
-
In the Manage public permissions field, select Grant public read access to this object(s) from the dropdown. Click Next.
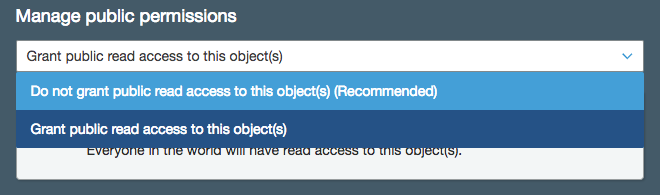
-
Configure the storage properties and click Next. Then click Upload.
Create a New Stack in CloudFormation
This section is typically performed by the customer account administrator.
- In a separate browser window, login to the CloudHealth platform. From the menu, select Setup > Accounts > AWS. Then click Add Account.
The new account setup form appears.
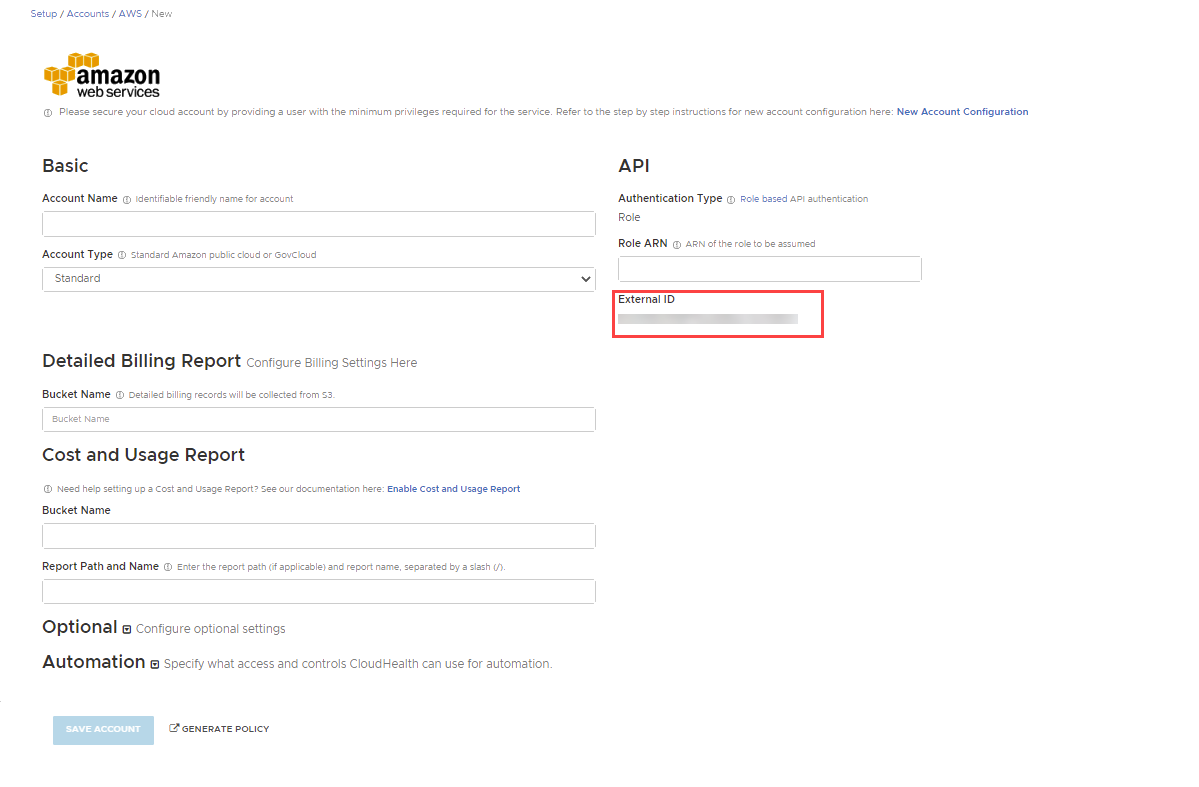
-
Name the account and add a description so that you can identify it later in the CloudHealth platform.
-
In the AWS Console, go to Services > Storage > S3 and open the S3 bucket that the CloudFormation templates were uploaded to.
-
Select the appropriate CloudFormation template for the customer's AWS account and copy the Link in the Overview tab.
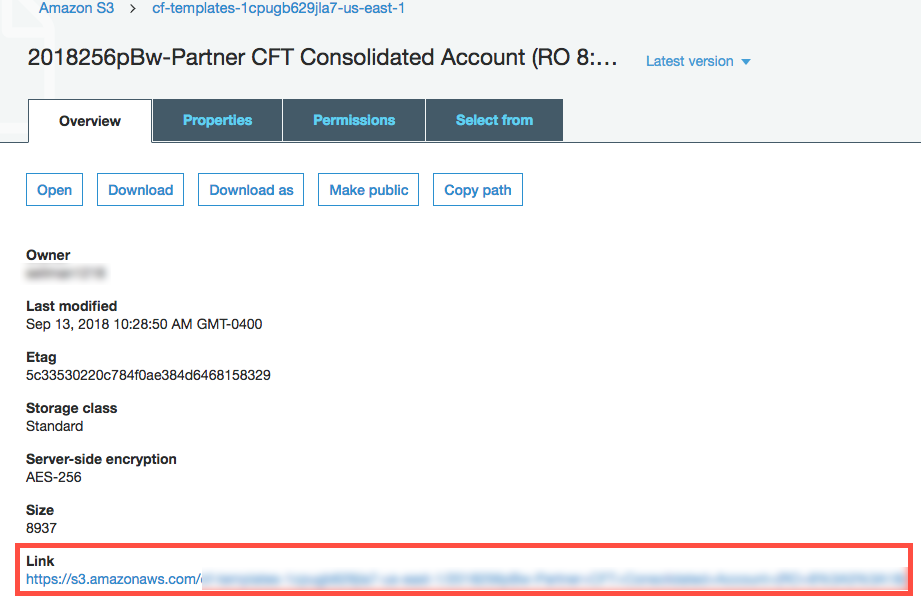
-
Go to Services > Management Tools > CloudFormation and select Create Stack.
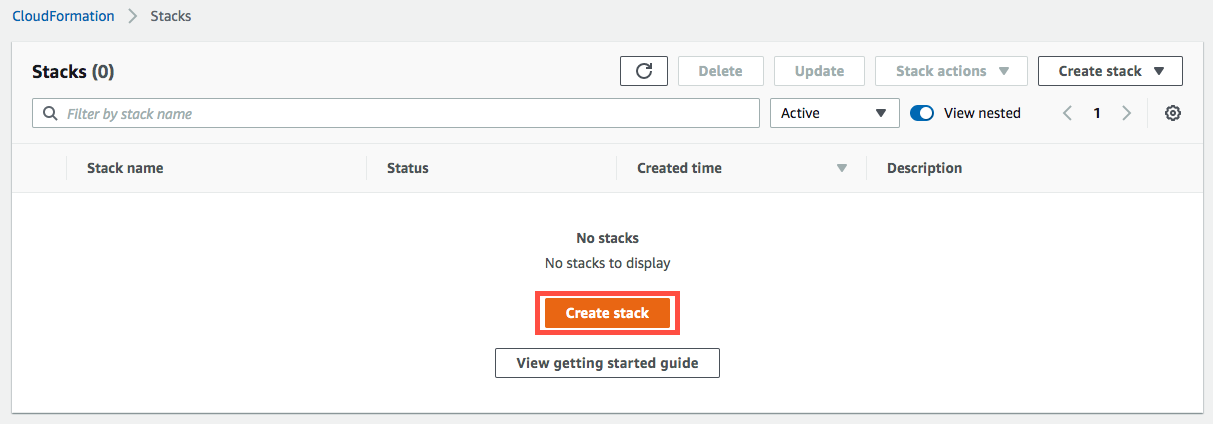
-
Under Choose a template, select the Specify an Amazon S3 template URL. Enter the link you copied in step 2 and click Next.
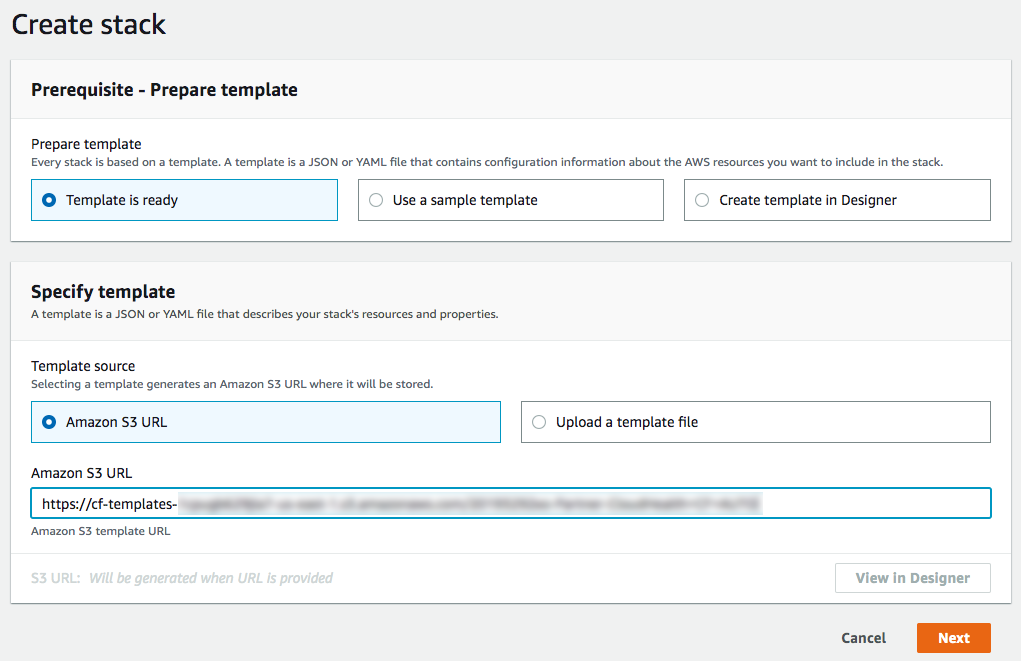
-
Enter a unique Stack Name. In the Parameters section, enter the bucket names you created above and the external ID you copied above. Click Next.
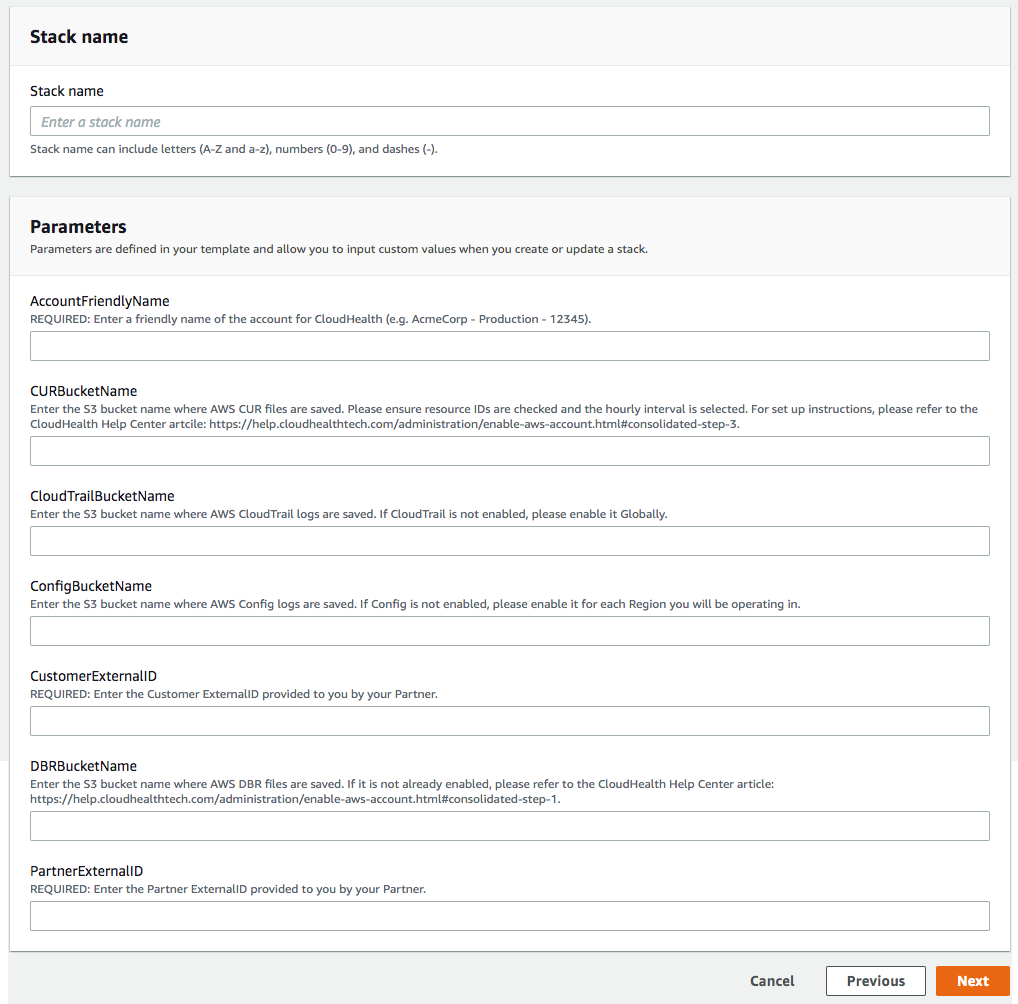
AWS Config is optional. Leave the bucket name field blank if you do not have AWS Config enabled for this account.
-
Optionally, configure tags and rollback triggers. Click Next.
-
Click Create Stack.
-
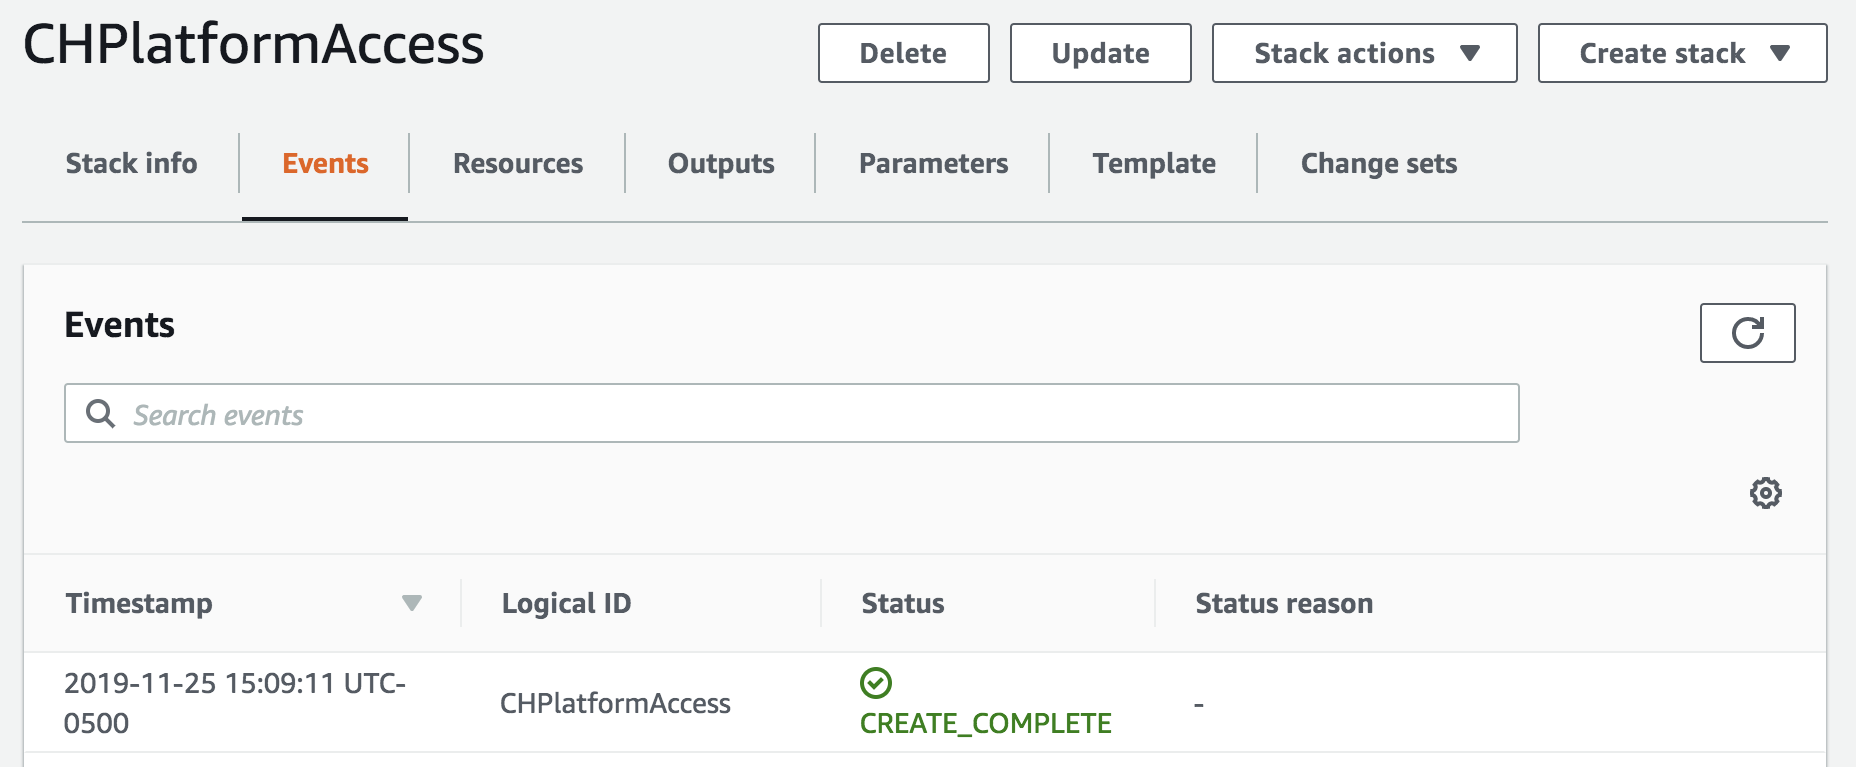
Verify that the newly created stack reaches a status of
Create_Complete. This process should take less than a minute.
- Select the Outputs tab and copy the outputs into a text document.
Update CloudHealth Account
-
In the CloudHealth Platform, return to the AWS account you copied the external ID from (Setup > Accounts > AWS) .
-
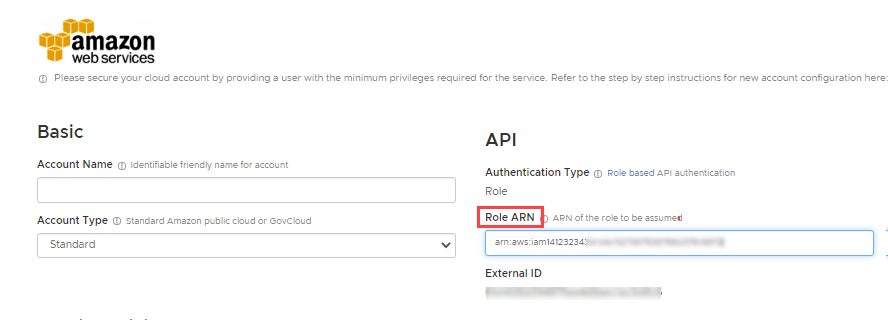
Ensure Account Type is Standard, and Authentication Type is Role.
-
Enter the Role ARN you copied from the CloudFormation stack.
-
If you are using the Automated CloudFormation template, select the Automation dropdown to open the list of automation permissions. For each service you included as automated in your saved copy of the template, switch the permission to On.
If you do not manually switch on a service's permission, CloudHealth won't be able to automate that service even if you included that service in the Automated CloudFormation template.
-
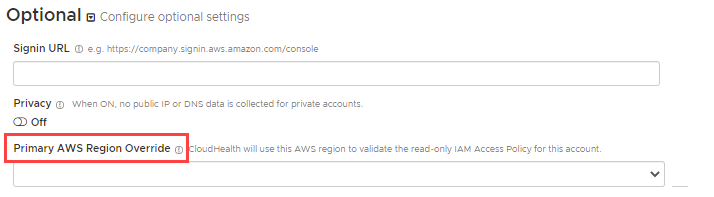
By default, CloudHealth validates the read-only IAM policy with the us-east-1 AWS region. If you do not have access to the us-east-1 region, you must select a different region for validation. Under Optional, select the desired region from the Primary AWS Region Override dropdown.

- Click Save Account.
Option 2: Create IAM Permissions via IAM Role
Note: Setting up a read-only IAM Role is recommended over setting up a read-only IAM User, while both approaches are supported in the CloudHealth platform.
Create a read-only IAM role within the AWS Console for the target account. Then add these credentials in the CloudHealth platform.
The default AWS Read-Only policy provides read access to data, such as S3 objects, and is therefore discouraged from being used.
-
Login to the AWS Console for the targeted account as a user who has permission to create an IAM role.
-
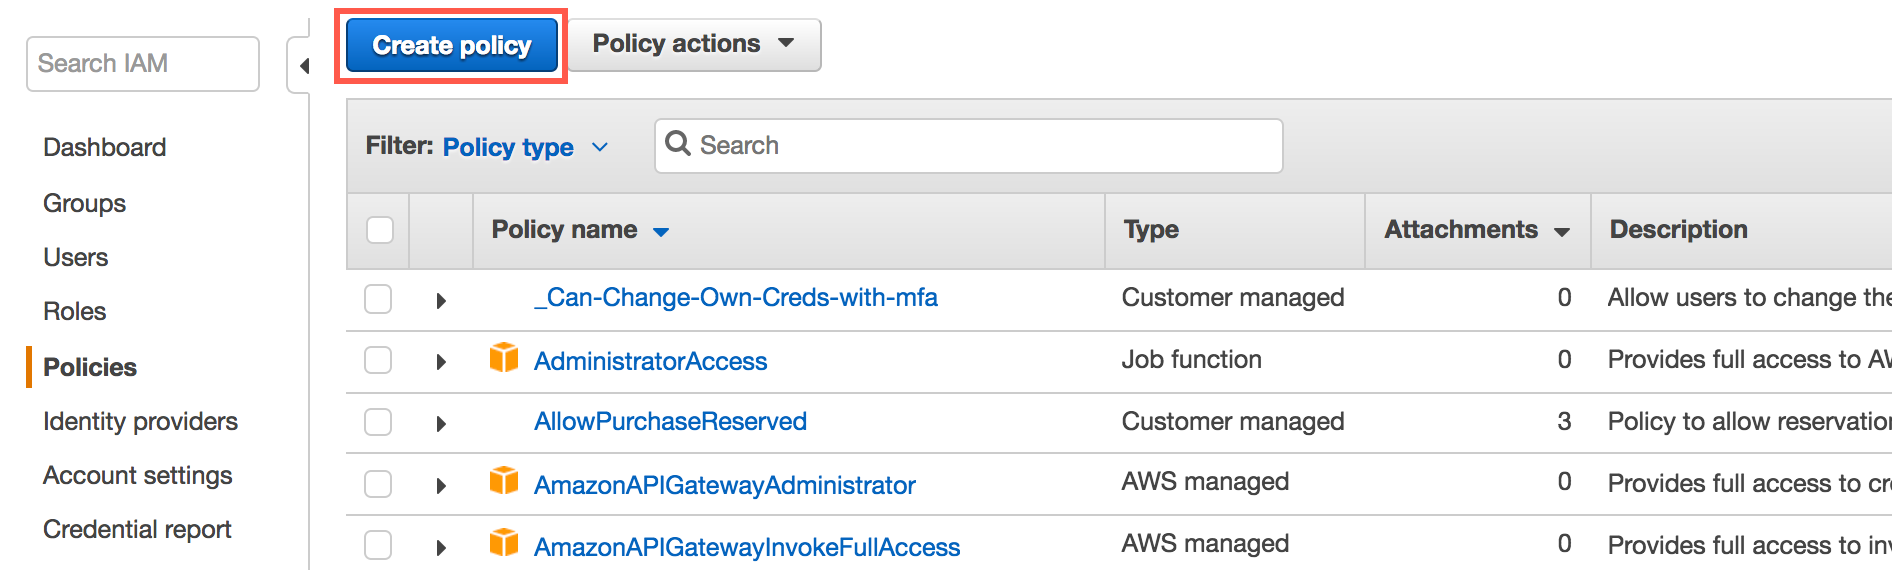
Navigate to Services > IAM. From the left menu, select Policies and click Create Policy.
-
Switch to the JSON tab.

-
In a separate browser window, login to the CloudHealth platform. From the menu, select Setup > Accounts > AWS. Then click Add Account.
-
The new account setup form, name the account and add a description so that you can identify it later in the CloudHealth platform.
-
Click Generate Policy. The bucket name is included in the resulting policy. The IAM Access Policy dialog box appears. Click Select All and copy the contents to the clipboard.
-
Return to the AWS Console and paste the policy in the JSON tab. Then click Review Policy.
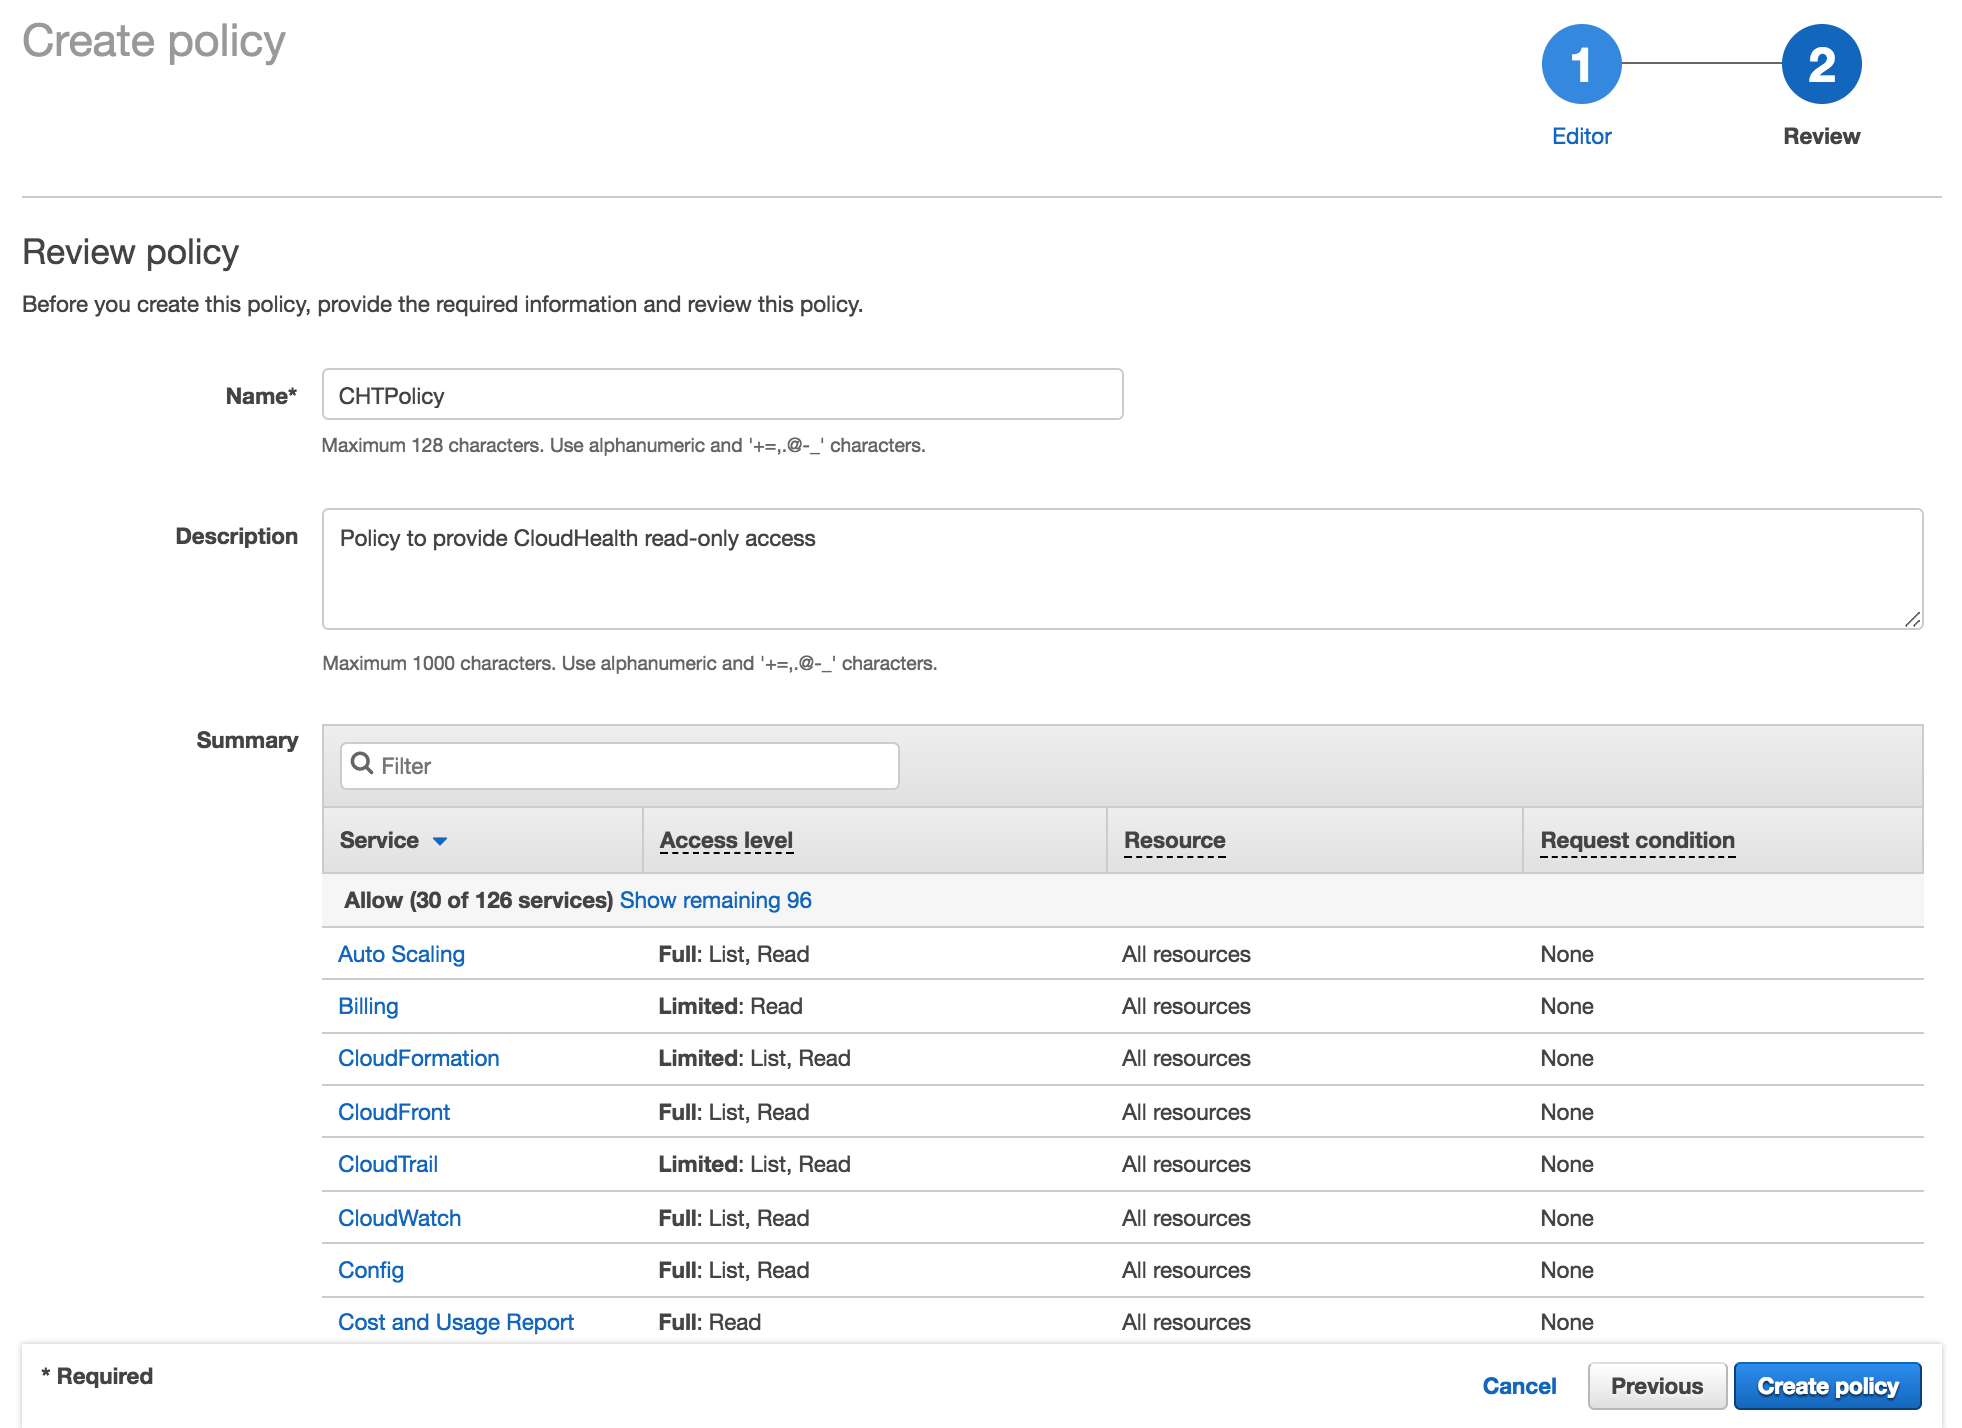
-
Name the policy (e.g., CHTPolicy), provide a description, and click Create policy.
-
In the AWS Console, from the left menu, select Roles and click Create role.

-
Name the role (e.g., CloudHealth) and click Next.
-
On the Create role > Trust page, select Another AWS Account.
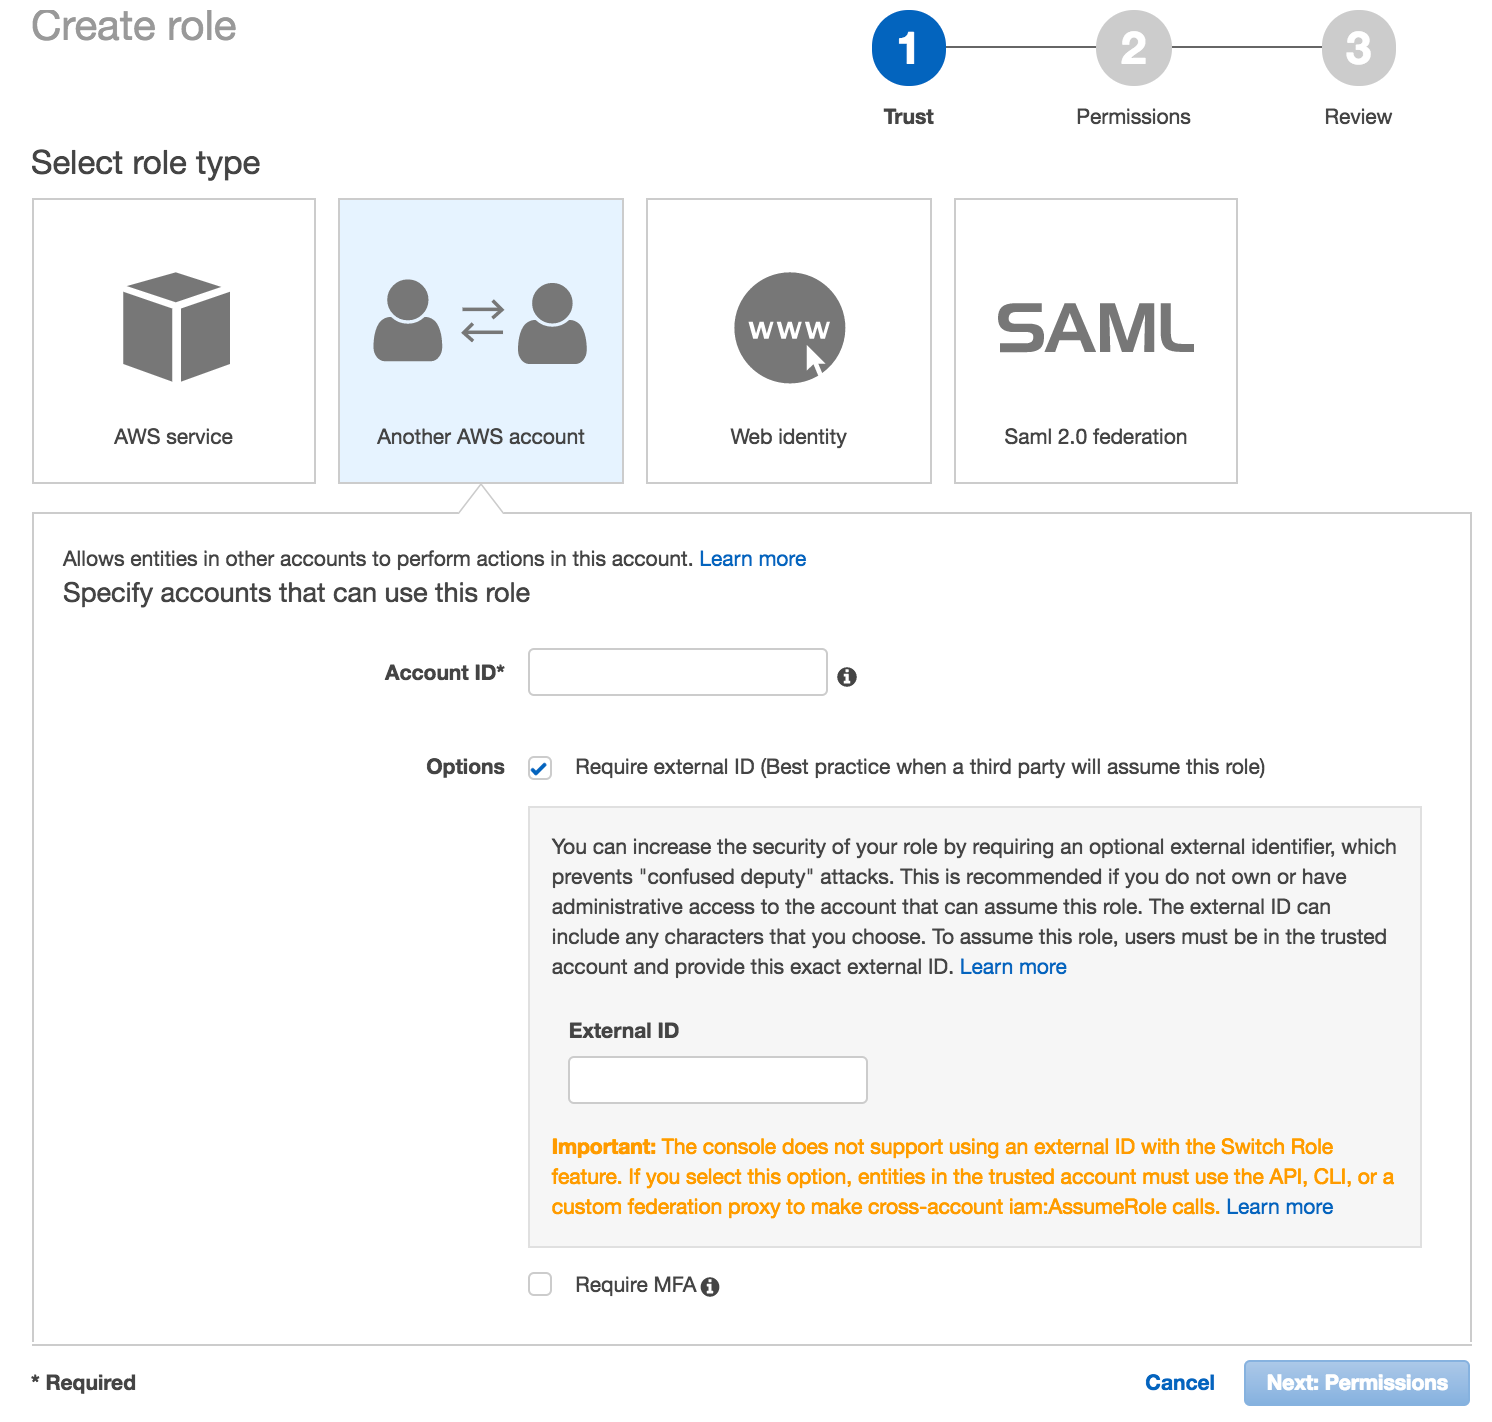
-
Enter the following information in the setup form.
-
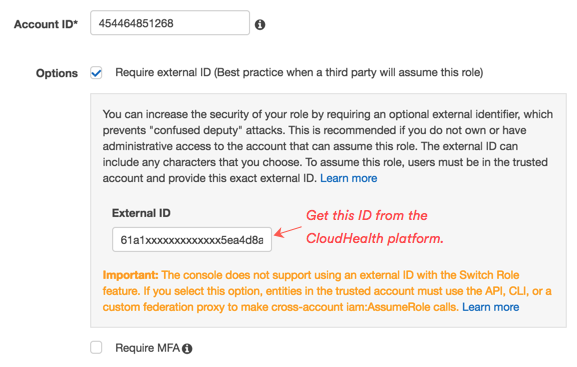
Account ID: Enter
454464851268, which is the ID of the secure CloudHealth-managed account. -
Select option to require an External ID. Copy the External ID that CloudHealth generated for you in the Account Setup form. This ID is unique for each CloudHealth customer, so you can reuse it across all your accounts. Paste this ID in the External ID field in the AWS Console.
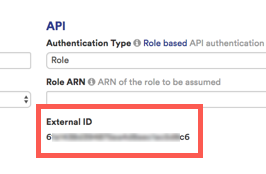
-
Leave the checkbox for Require MFA cleared because the IAM role will be used to provide programmatic access to the CloudHealth platform. Then click Next.
-
-
On the Create role > Permissions page, set the Filter field to Customer managed and choose the CloudHealth policy you created.
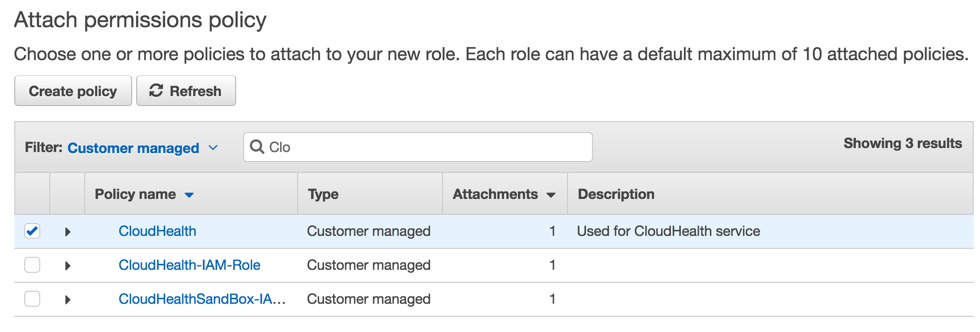
Click Next.
-
On the Create role > Review page, enter a name and description for the role.
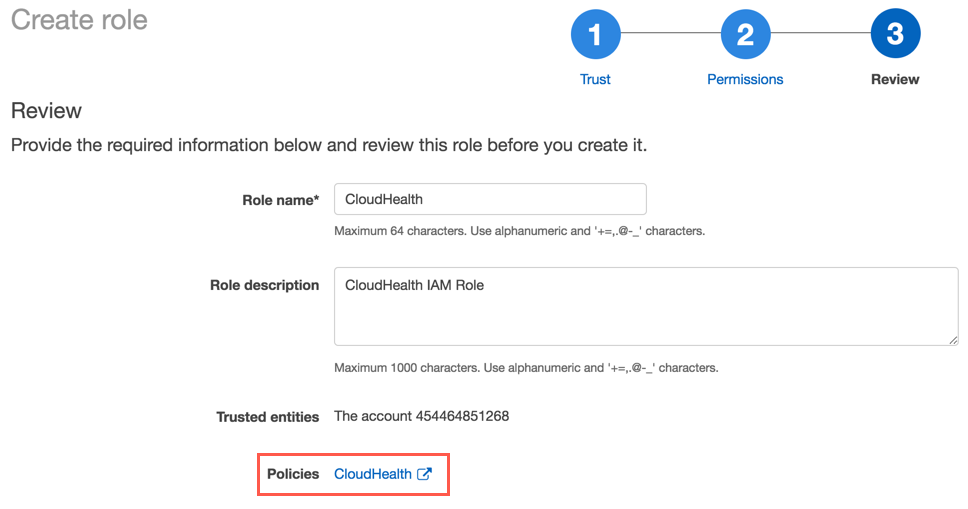
Click Create role. From the Role Summary page, copy the value of Role ARN to the clipboard.
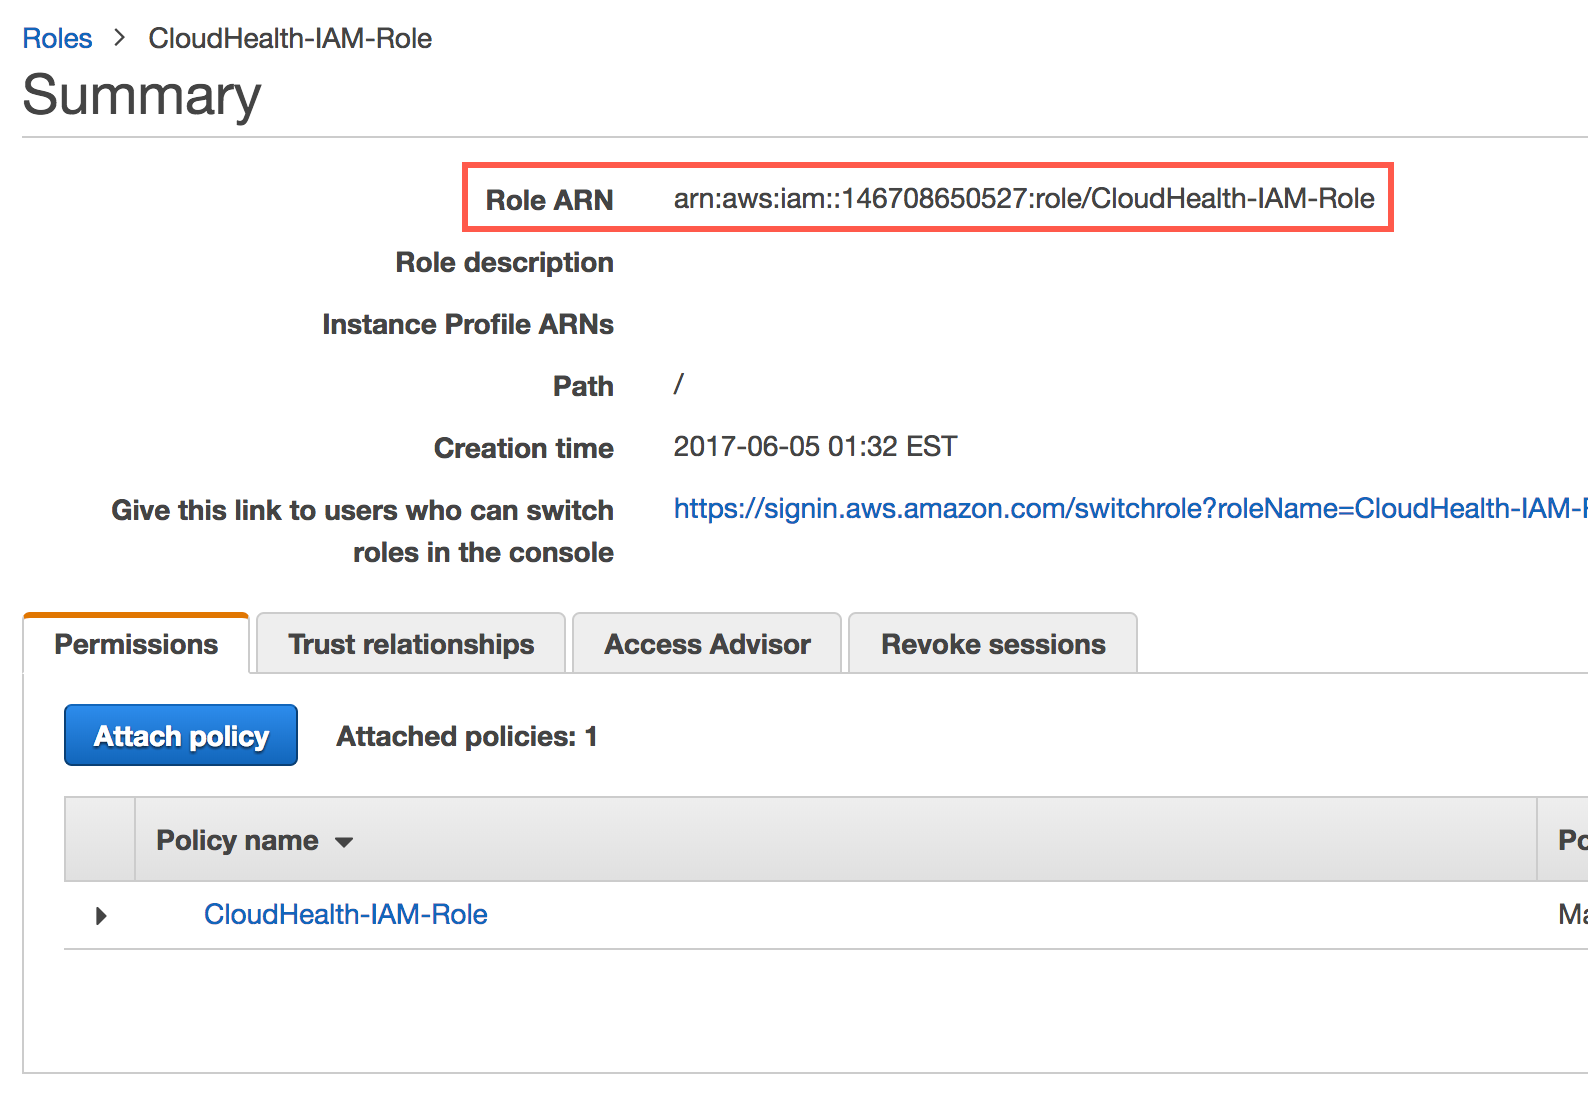
-
Return to the AWS Account Setup page in the CloudHealth platform. In the API section paste the Role ARN value.
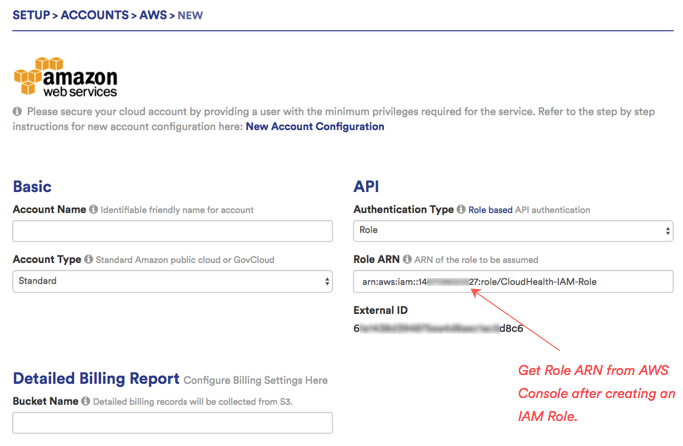
-
By default, CloudHealth validates the read-only IAM policy with the us-east-1 AWS region. If you do not have access to the us-east-1 region, you must select a different region for validation. Under Optional, select the desired region from the Primary AWS Region Override dropdown.
-
Click Save Account.
CloudHealth validates your account and begins collecting data. If there are issues with any information you provided, an error message appears.
Enable AWS Console Integration (Optional)
In the CloudHealth platform, instances have links that allow you to view them in the AWS Console.
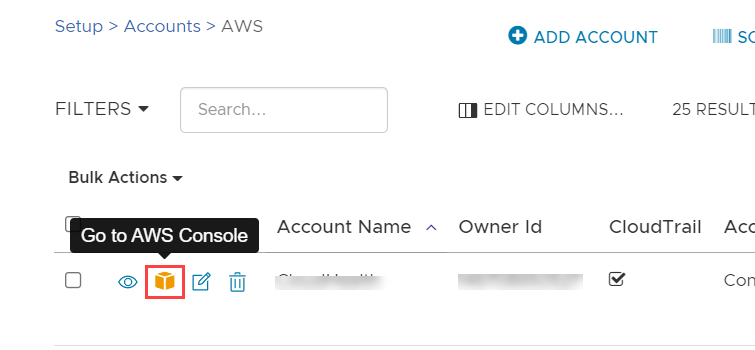
These links are set up by enabling AWS Console integration from the CloudHealth platform.
- In the CloudHealth platform, from the menu, select Setup > Accounts > AWS.
- From the list of AWS accounts, edit the account for which you want to add AWS Console integration.
- In a separate browser window, login to the AWS Console.
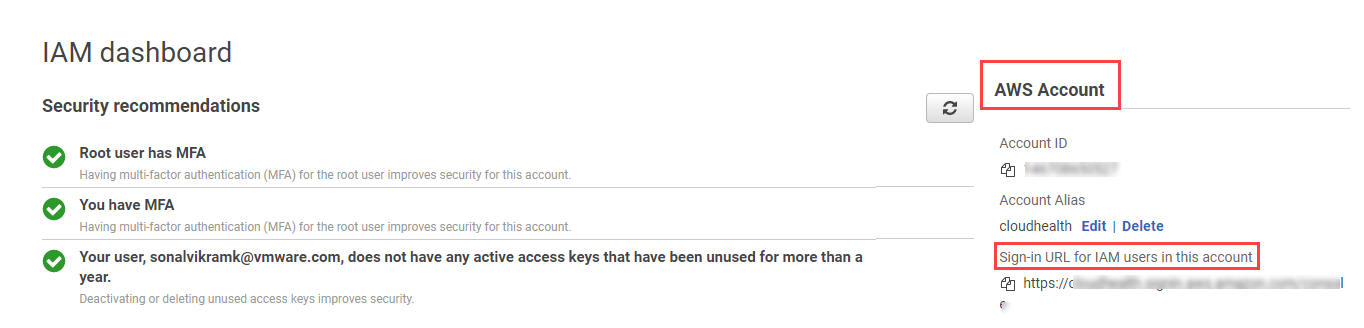
- From the menu, select Security, Identity, & Compliance > IAM.
- From IAM Dashboard > AWS Account, copy the IAM User Sign-In URL into the clipboard.
- Back in the CloudHealth platform, expand the Optional section of the account setup form. Paste the URL in the Signin URL field.
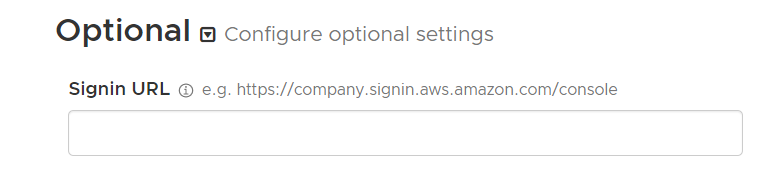
- Click Save Account to enable AWS Console integration.