topics
- Home
- Getting Started
- Google Cloud Platform Account Setup
Configuring GCP Accounts at the Project Level
January 7, 2025
Benefit: CloudHealth is granted access to all the projects in the billing account at the project level.
Overview: Create a custom role (or use the default Editor role) and IAM member at the project level and assign the role and IAM member to the service account. Identical roles and IAM members are automatically created and assigned to all projects in the billing account. If a new project is added to the billing account, a role and IAM member must be manually assigned to the new project.
Use When:
- You don't want to grant this CloudHealth account access to all projects in an organization.
- You don't want to give CloudHealth the same level of asset access to all projects.
- You are concerned about security and want to grant CloudHealth access to your GCP projects at a more managed level.
Configuring GCP Accounts in the Google Console You can configure your GCP account using the Google Console. CloudHealth recommends using the Google Console if you are a new Google Cloud user or are unfamiliar with gcloud.
Create Service Account
-
Open a text document, such as TextEdit or NotePad, so that you can store specific parameters that you need to provide in the CloudHealth Platform.
-
Log in to the Google Cloud Console, and select a project assigned to the billing account you want to add to CloudHealth.
CloudHealth is connecting to your Google billing account via the selected project, do not select a project that might be deleted in the future.
-
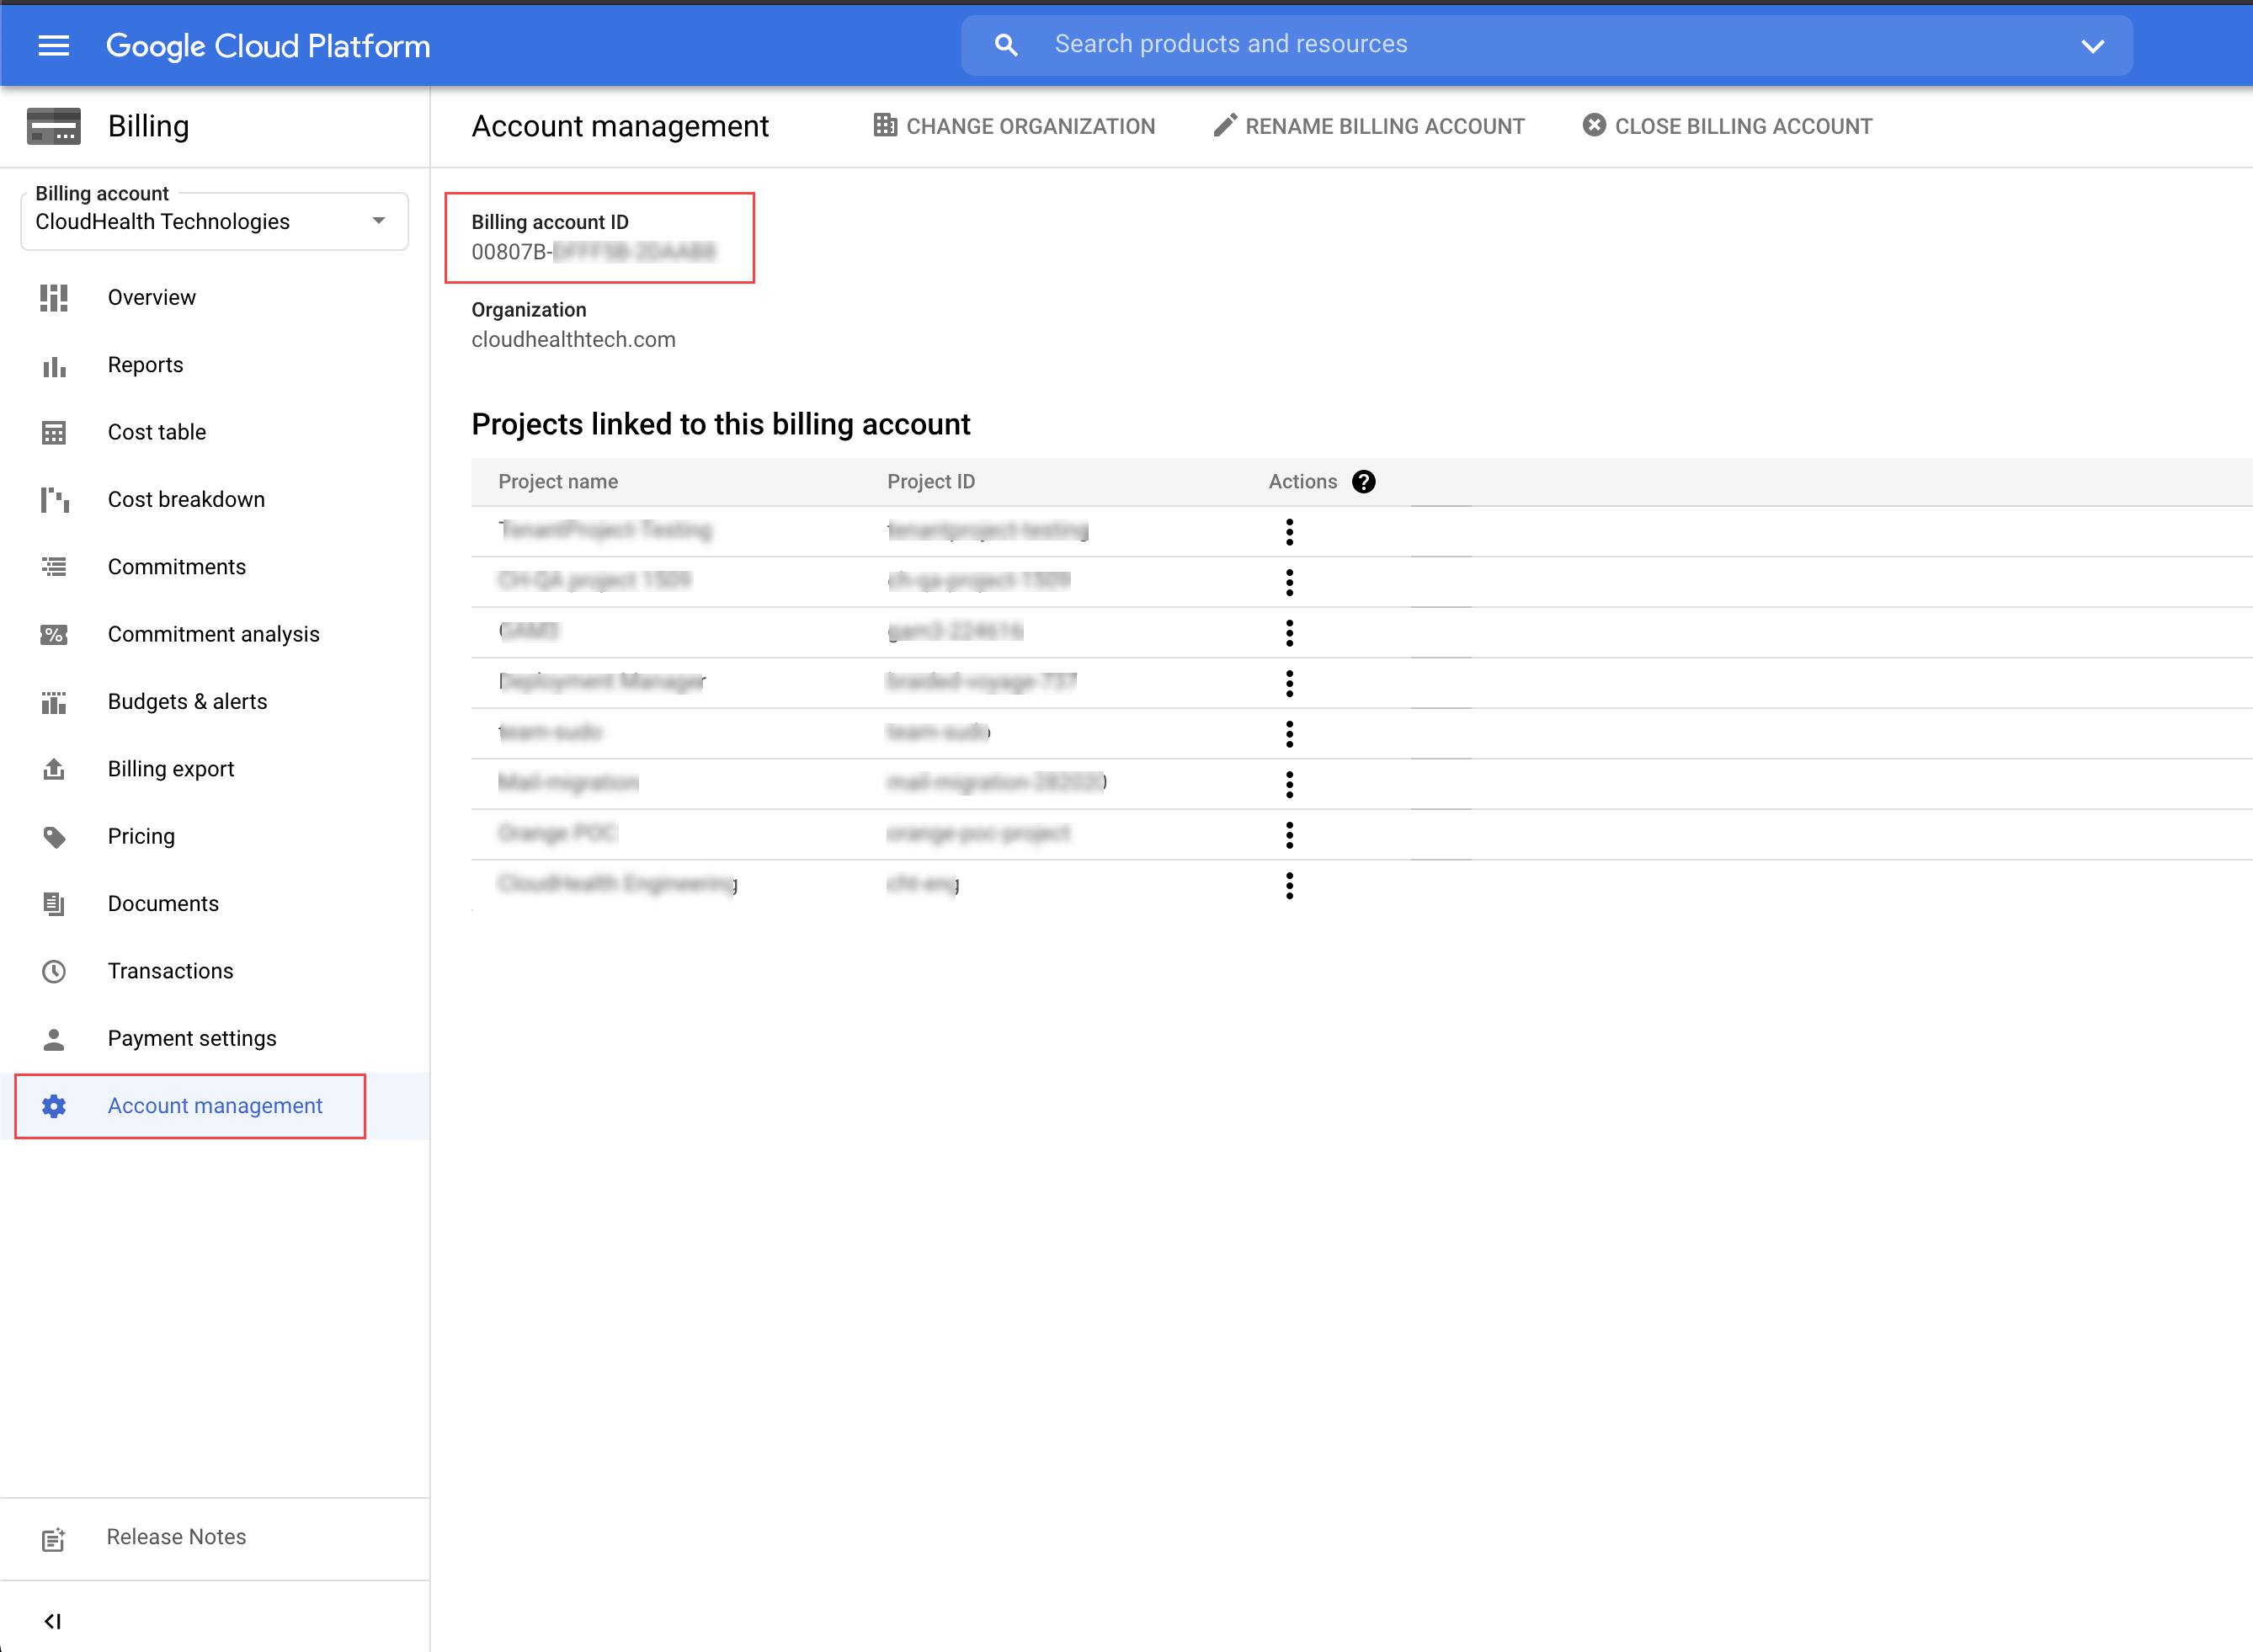
From the left menu, go to Billing and open the billing account associated with the project, and then click Account management. Copy the alphanumeric Billing account ID into the text document.
-
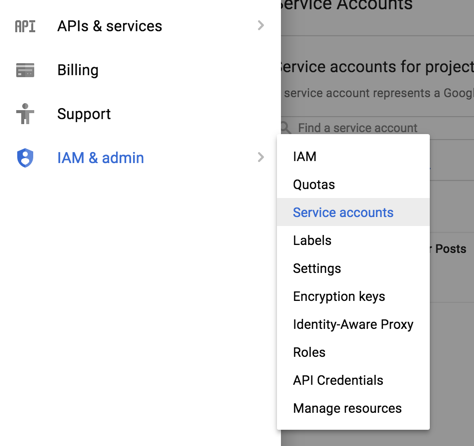
From the left menu, click IAM & admin > Service accounts.
-
On the Service Accounts page, click Create Service Account.

-
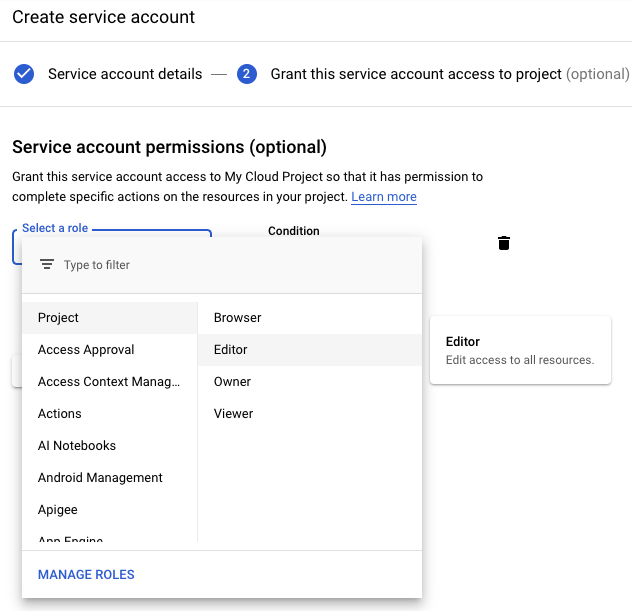
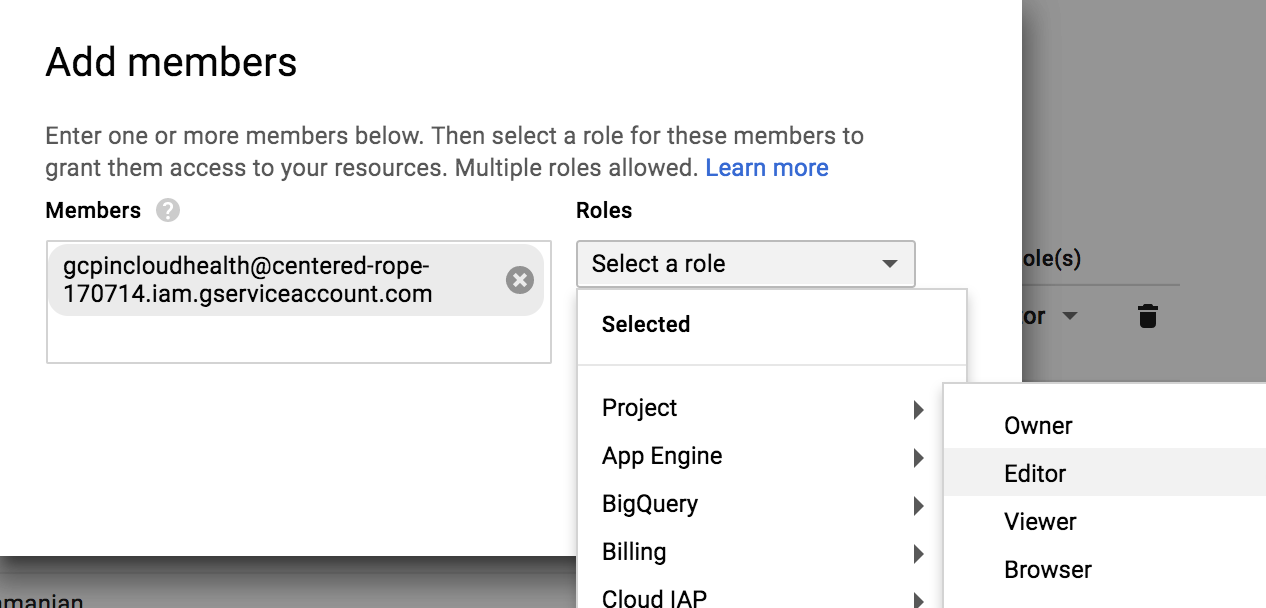
Name the account and from the Role dropdown, select a role:
- Custom Role (Recommended): Create a custom role with the permissions CloudHealth requires to report on your billing data.
- Project > Editor: Use an Editor role for ease of maintenance.
-
Copy the full service account ID, including the @ suffix, into the text document.
-
Select Furnish a new private key. Then select JSON as key type, and click Create.
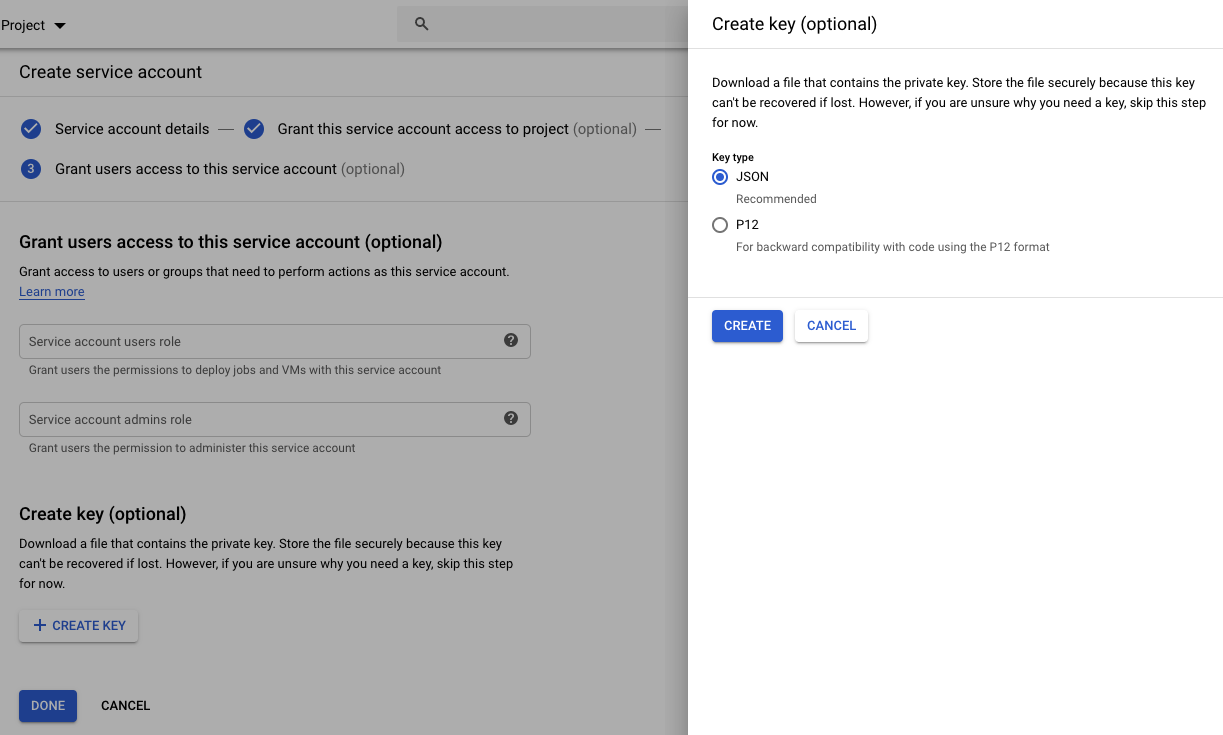
The key is downloaded to your computer.
-
Open the downloaded file. Copy the private key into the text document.

Checkpoint: At this point, you have the following information in the text document.
- Billing Account ID
- Service Account ID
- Private Key
Assign Service Account as IAM Member to All Projects
Repeat this process for all derived projects.
-
Switch to a project that is linked to the billing account.
-
From the left menu, select IAM and click Add IAM.
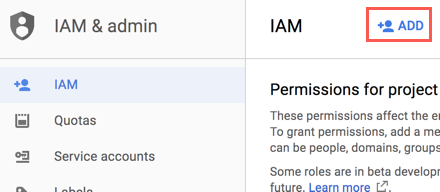
-
In the Members field, paste the ID of the service account you created. From the Role dropdown, select Project > Editor. Click Add.
Enable BigQuery with CloudHealth
CloudHealth requires your service account role to be enabled with certain permissions to properly access and report on your BigQuery data. These permissions are not included in the default Viewer role in the Google Console. If you have assigned your service account a Viewer role, you cannot view your BigQuery data in CloudHealth and must change your service account role to a custom role.
BigQuery is Google's enterprise data warehouse. BigQuery provides billing data that contains more information on customer datasets and is easier to use for custom reporting than daily CSV exports.
BigQuery must be enabled for billing export in the Google Console before you can enable BigQuery in the CloudHealth Platform. Complete these instructions to do so.
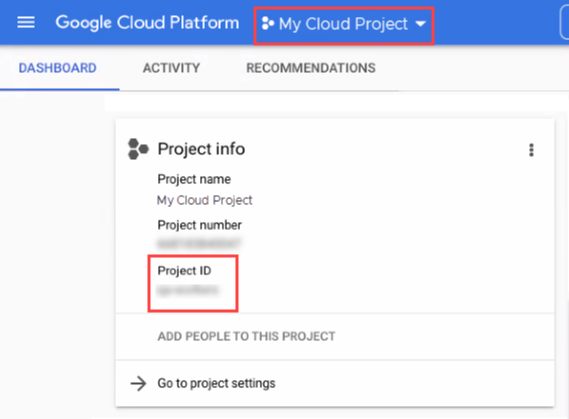
- In the Google Cloud Console, and switch to a project associated with your billing account. Copy the Project ID from the Project info section, and paste it in the text document.
-
From the left menu, select Billing, and select your billing account.
-
From the left menu, select Billing export. Copy the Dataset name, and paste it in the text document.
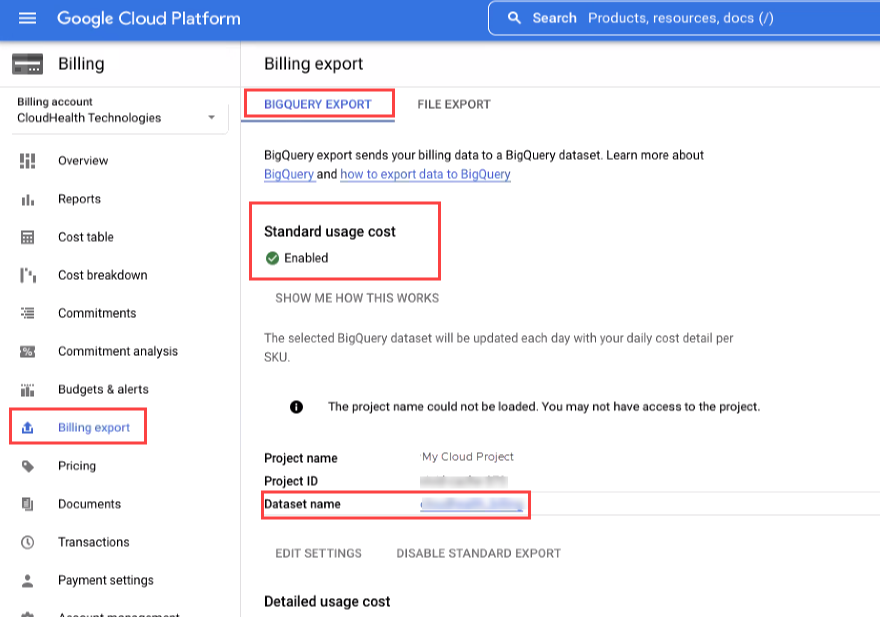
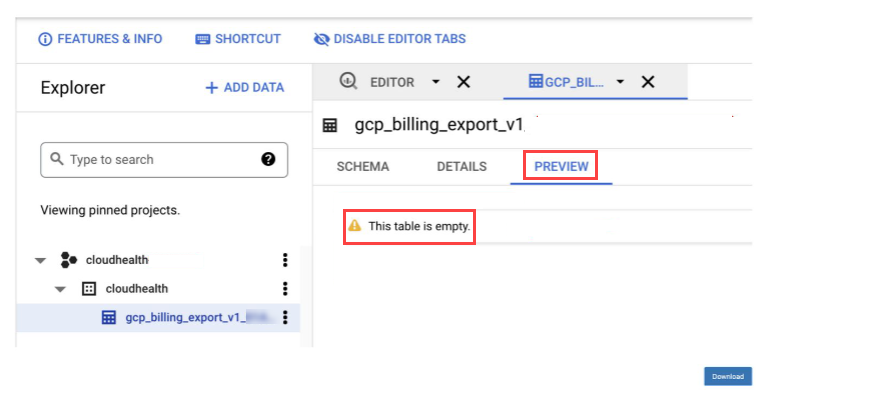
Once you enable Billing export to CloudHealth, ensure your GCP BigQuery table is not empty. To verify whether the table contains cost data, click the BigQuery table name from the left navigation and select the Preview tab. For the successful configuration of the GCP accounts, the GCP BigQuery table must include the cost data.
The CloudHealth platform supports enabling both Standard usage cost and Detailed usage cost. The Standard option with the database table name
gcp_billing_export_v1_<billing account ID>is selected by default. If you enable the Detailed option, you must update the database table name togcp_billing_export_resource_v1_<BILLING_ACCOUNT_ID>via API. Though the Detailed table provides additional fields, note that CloudHealth does not report on any new data from the resource table.
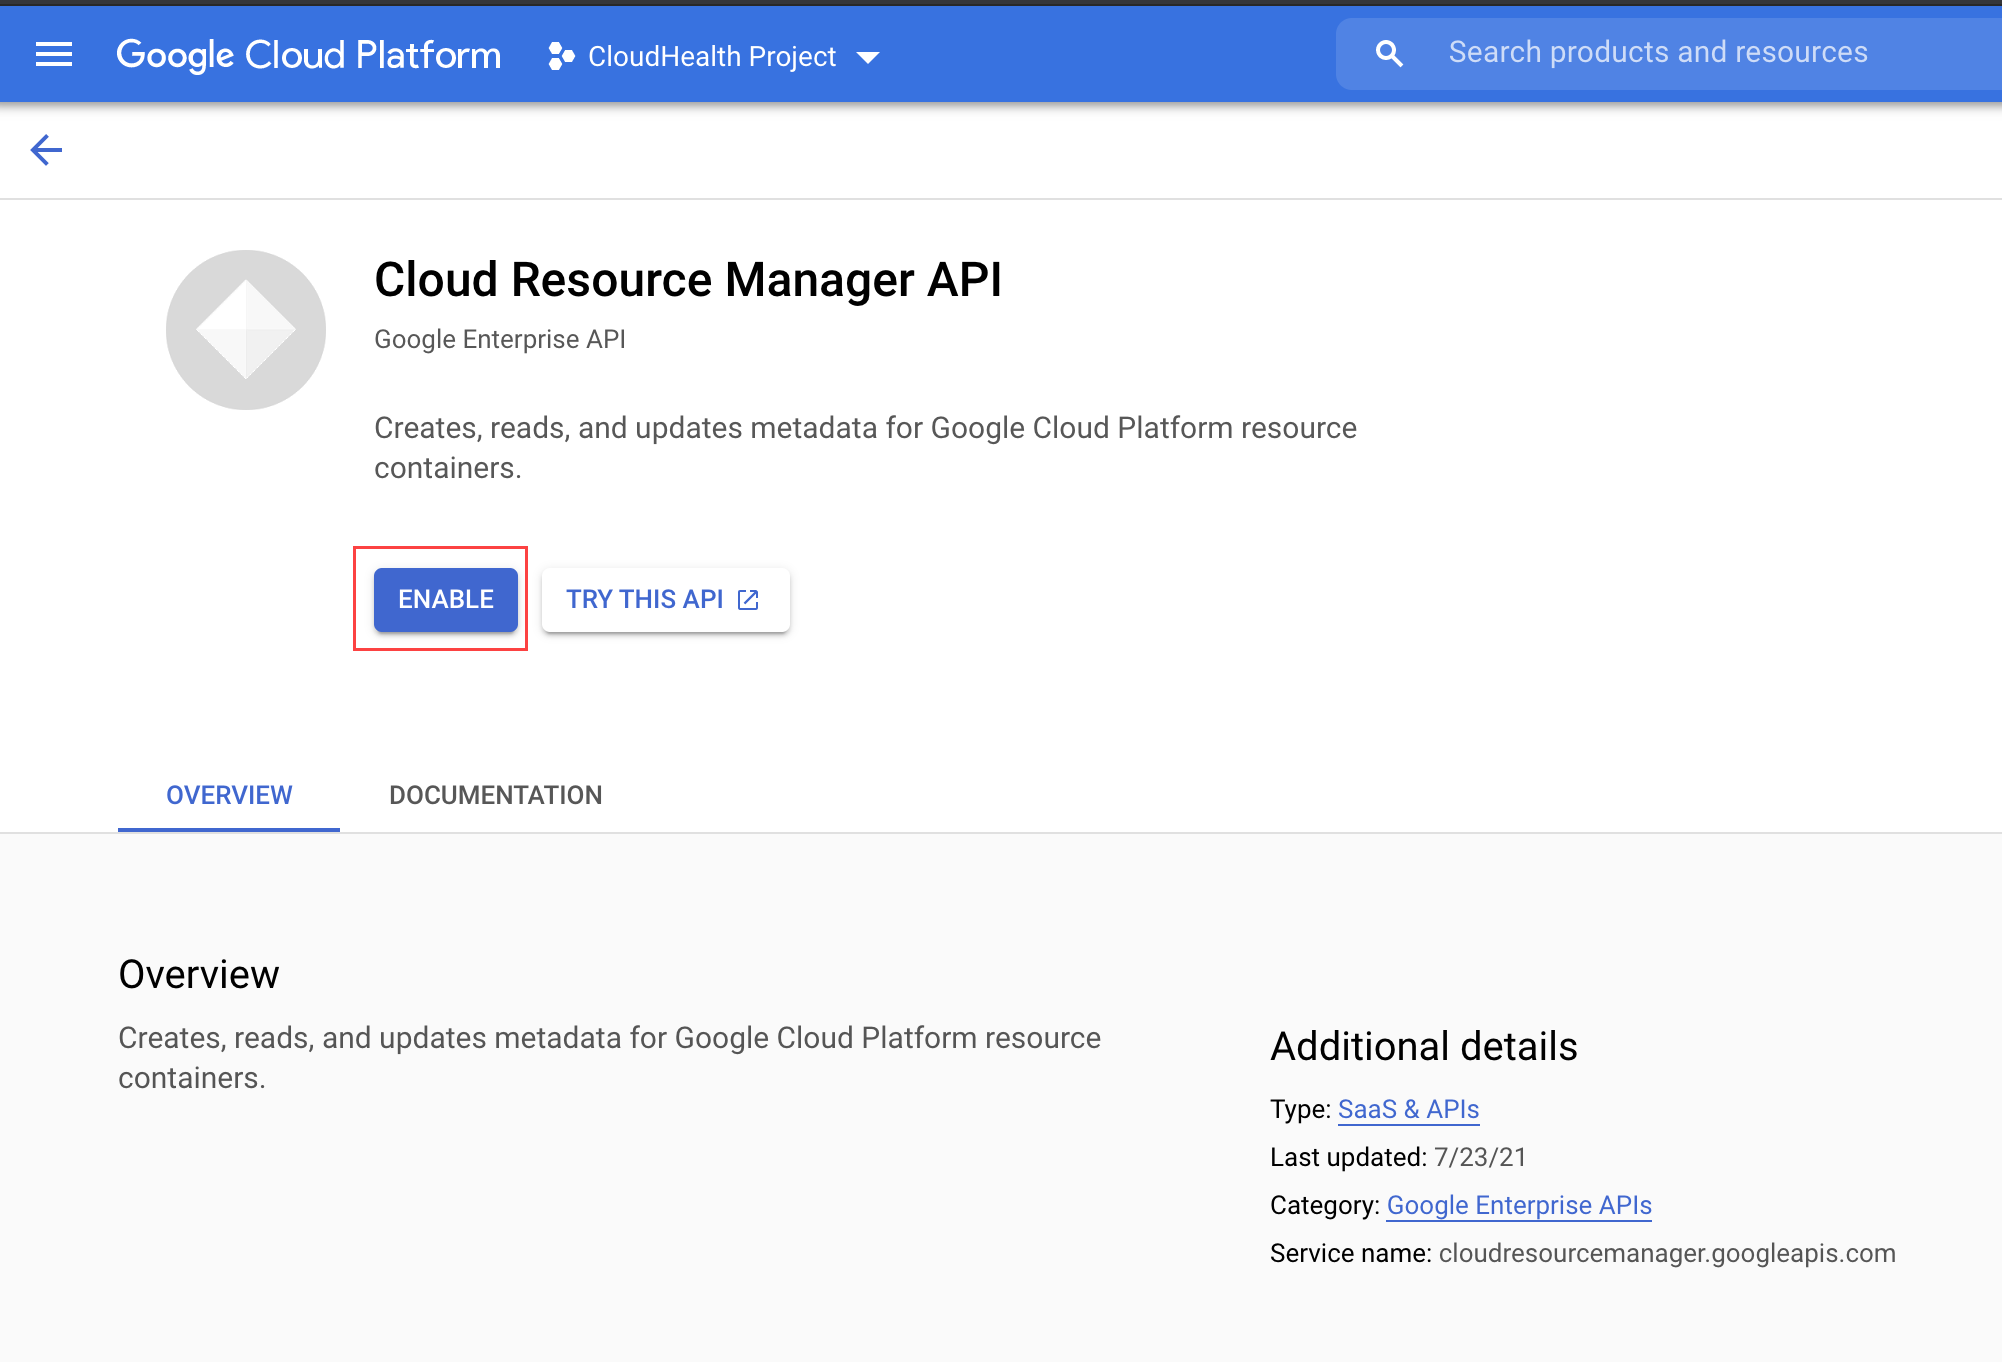
Enable APIs for All Projects
Enable APIs that allow CloudHealth to gather cost and tagging information.
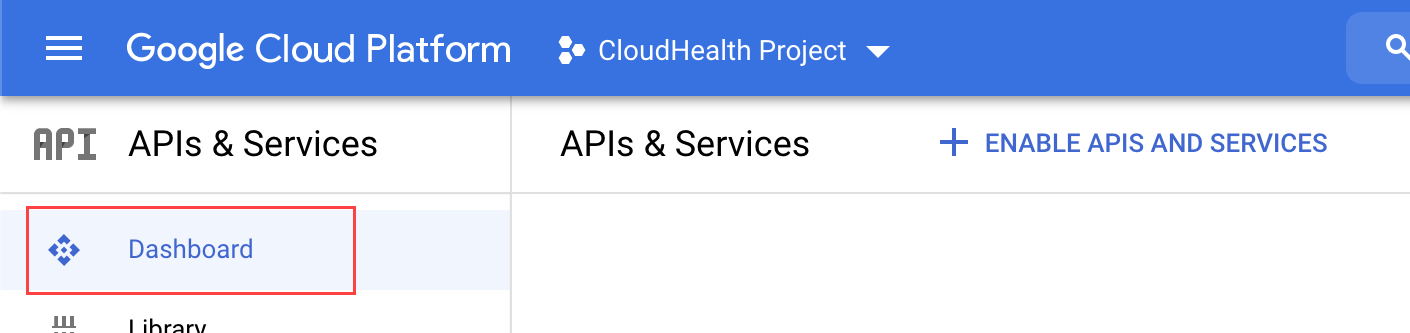
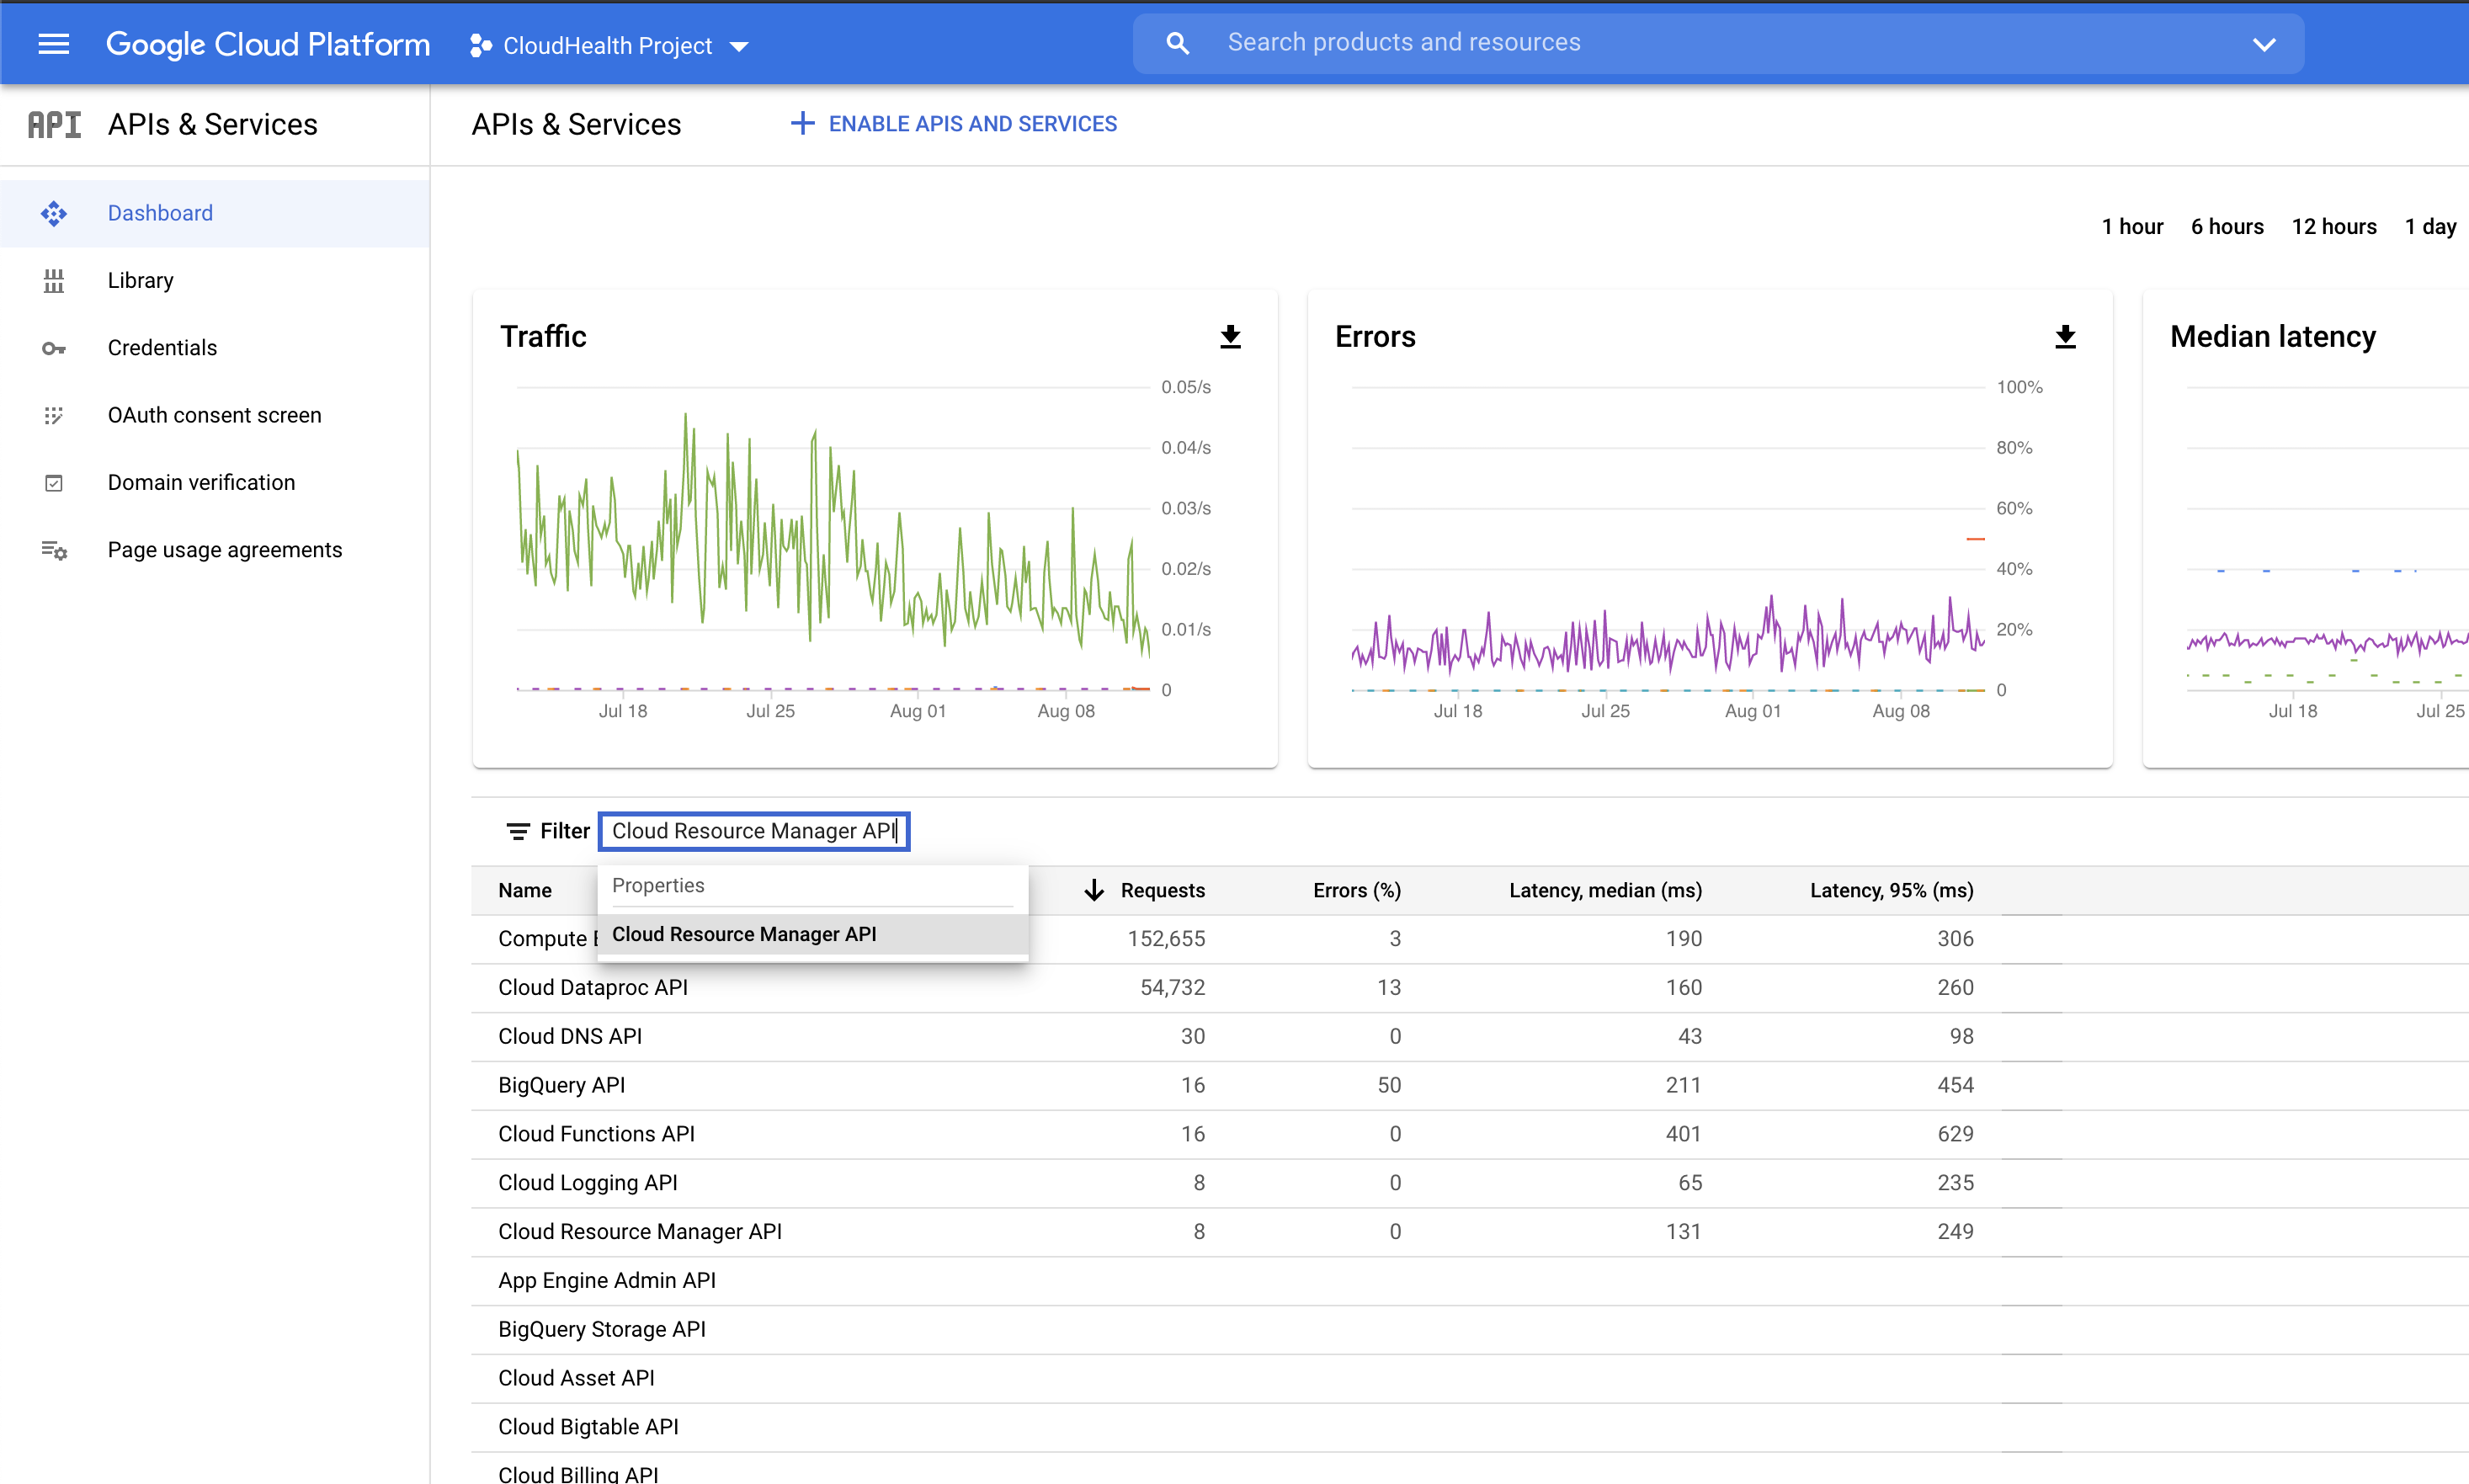
- In the Google Cloud Console, select a project associated with your billing account. From the left menu, select APIs & Services > Dashboards.
- Search for and locate the following APIs. Then click Enable APIs and Services on the landing page of each API.
- Compute Engine API
- Cloud Billing API
- Cloud Storage API
- Cloud Resource Manager API
- Google Cloud Storage JSON API
- BigQuery API
- Recommender API
- Kubernetes Engine API
- Cloud Dataproc API
- Repeat steps 1-3 for all projects.
Configure Automated Billing Account in CloudHealth
You need to configure only the billing account. CloudHealth discovers all derived projects associated with the billing account that have incurred costs.
-
Log in to the CloudHealth platform and from the left menu, select Setup > Accounts > GCP Billing. Then click Add Account.
-
Enter all the information from the text document into the appropriate fields.
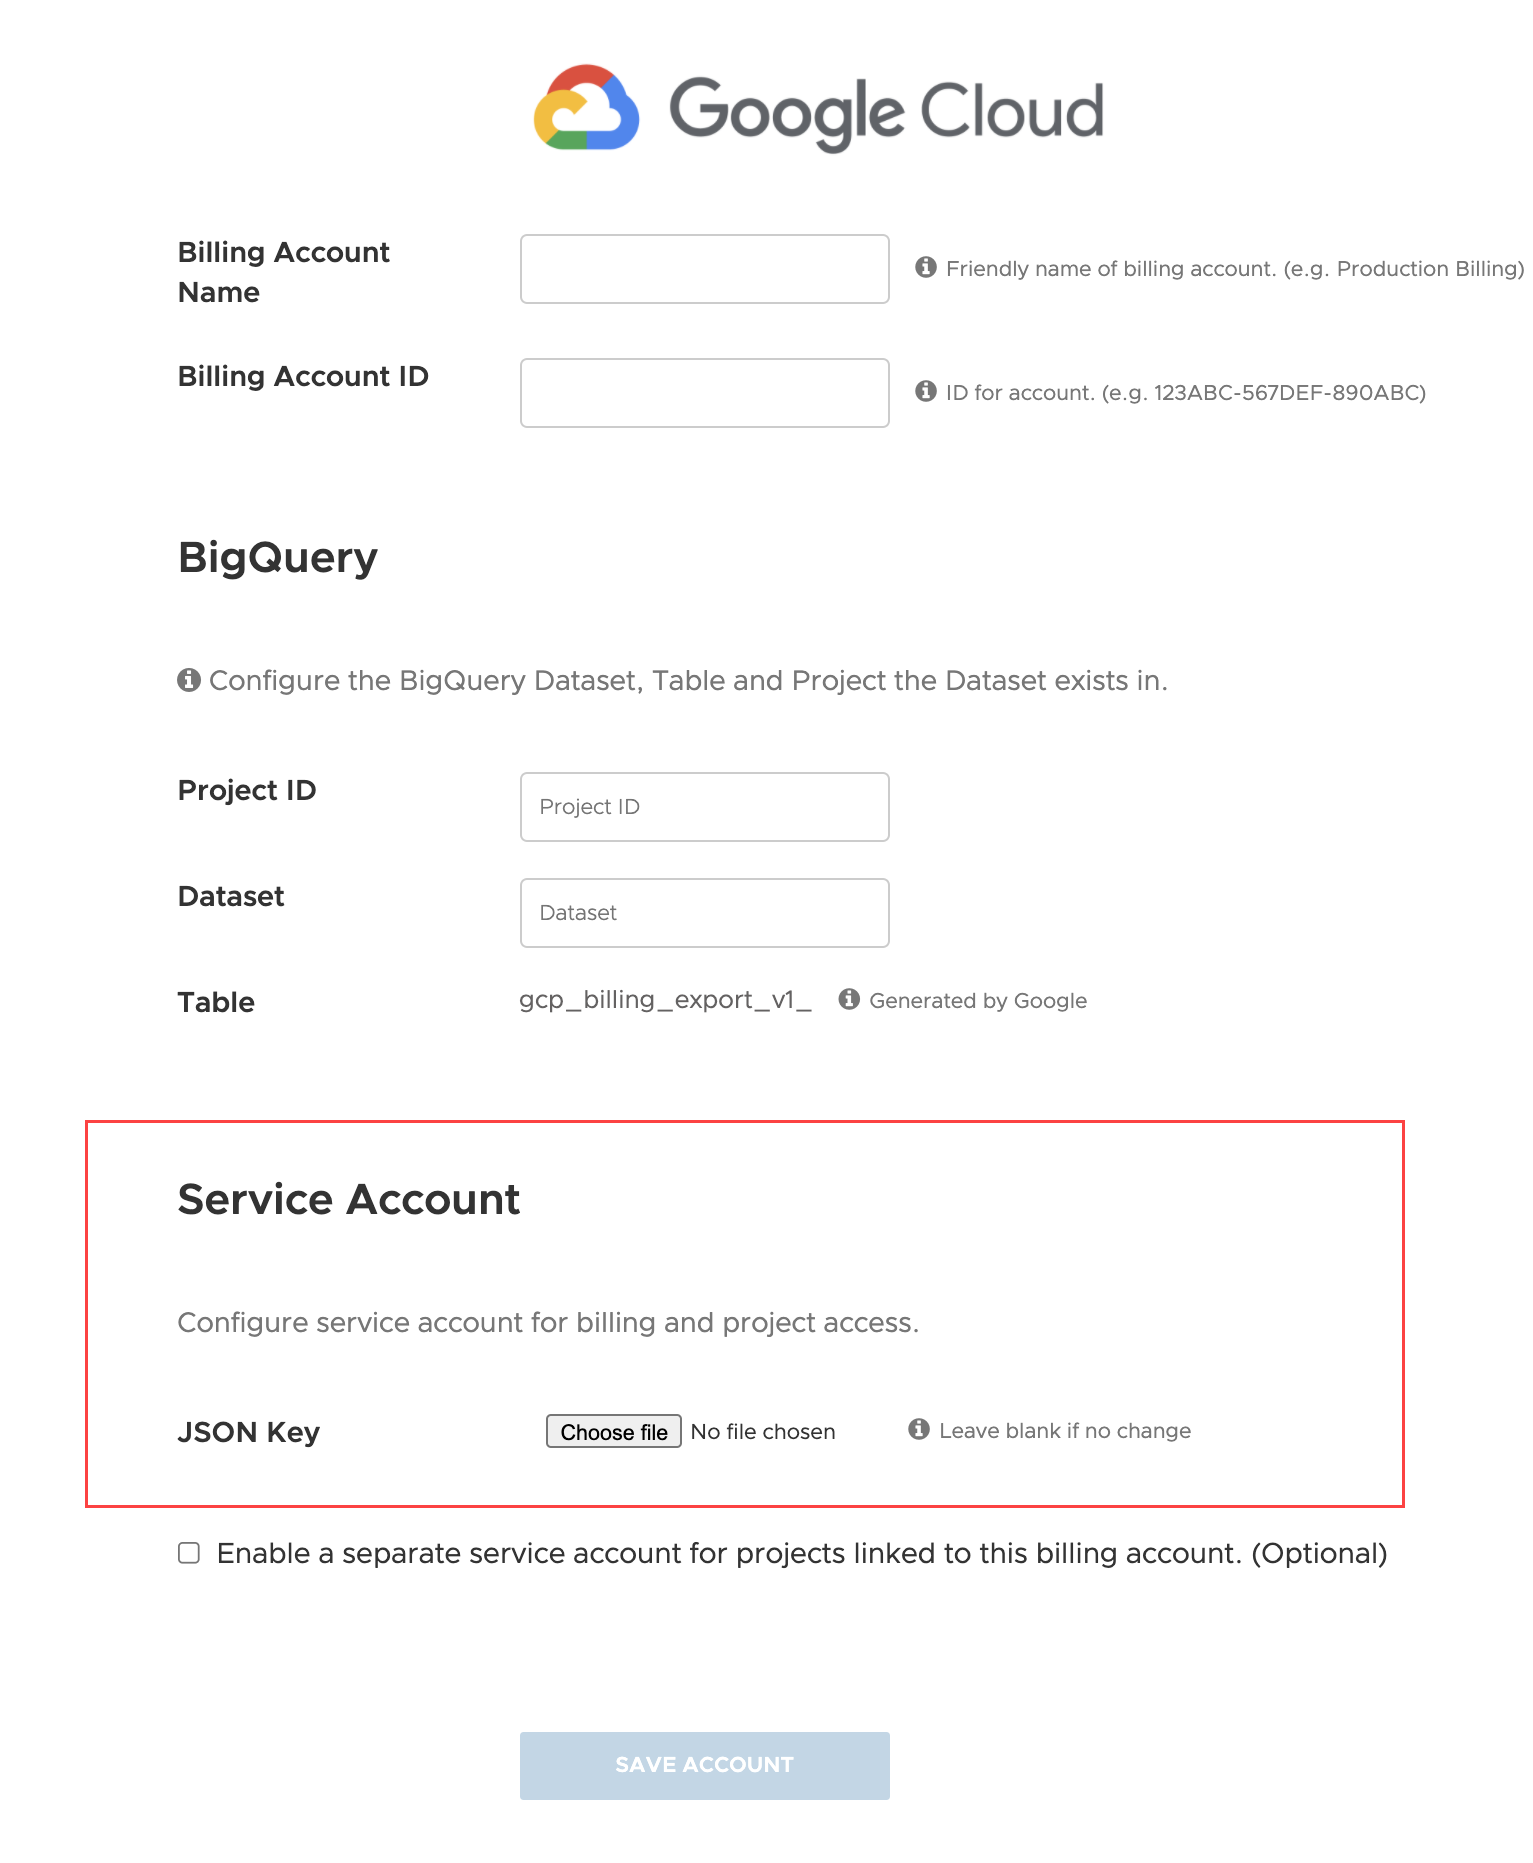
- In Service Account section, select Choose file and upload the JSON private key.
When you use a JSON key, CloudHealth verifies that the project ID in the JSON key matches the ID of the project to which you are attaching the credentials.
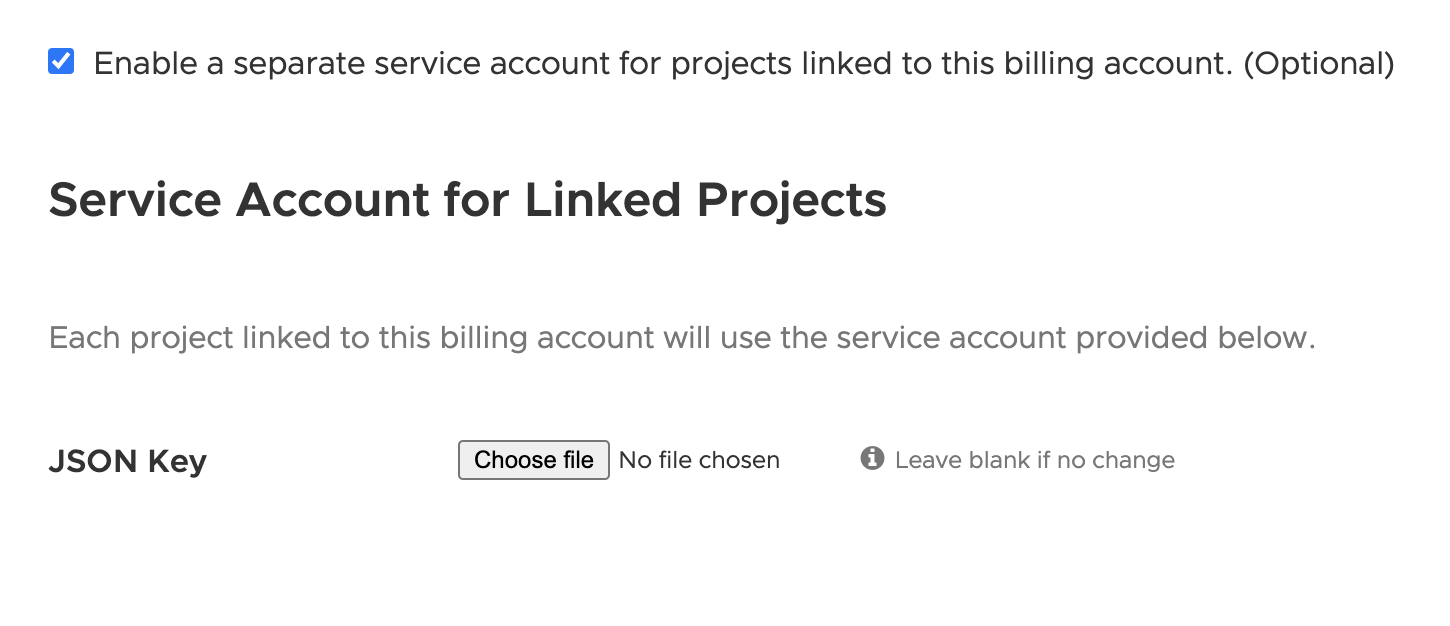
- If you want to use different service accounts to collect billing statements, select the Enable a separate service account for projects linked to this billing account. (Optional) checkbox. Select Choose file and upload the JSON private key for the derived projects.
This option should be used if you want to use different service accounts for billing data collection and asset metadata collection.
- Click Save Account.
CloudHealth validates new Google Service Accounts and derived projects every 4 hours. You can view derived projects by going to Setup > Accounts > GCP Project. Projects you enable in the CloudHealth Platform change status from Not Configured to Green, Yellow, Red, or Pending.
The newly configured GCP billing accounts will be onboarded automatically, and within 48 hrs, you will see the cost data in the CloudHealth platform.