topics
Complete the following steps to configure your Oracle tenancy with the CloudHealth platform.
Prerequisites
If a user is configured in the Oracle console with multi-factor authentication (MFA) enabled, ensure that the user can log into the Oracle console and access Oracle Cost and Usage Reports. To verify,
- Log in to the Oracle console using the user credentials.
- From the left menu, go to Billing & Cost Management.
- Under Cost Management, select Cost and Usage Reports.
If you can view cost and usage reports, continue configuring the tenancy in CloudHealth using the user OCI Id.
Create an IAM User for CloudHealth
In Oracle Cloud, the cost and usage report (CUR) is generated daily and stored in an Oracle Object Storage bucket. Create a CloudHealth user in Oracle Cloud with administrator permissions to access the Object Storage Bucket.
-
Log in to the Oracle console. From the left navigation menu, click Identity & Security, and select Users.
-
Click Create User.
Enter the CloudHealth user name, description and email address, then click Create.

Set Up API Signing Key
The API key is a unique identifier that is required to authenticate the CloudHealth API requests for accessing the CUR from the Oracle Object Storage bucket. The administrator in your organization needs to generate a key pair for signing CloudHealth API requests. The public key in the key pair is uploaded to the Oracle console and the private key is added to the CloudHealth platform.
Generate API Signing Key
Prerequisites:
- If you are using Windows, ensure that Gitbash is installed on your computer.
- If you are using Linux/Unix-style systems, ensure that OpenSSL is installed on your computer.
Run the following commands in OpenSSL to generate API key pair:
- Create a
.ocidirectory to store the key pair credentials:
mkdir ~/.oci
For Private Key:
-
Generate a private key with no passphrase:
openssl genrsa -out ~/.oci/oci_api_key.pem 2048 -
For security reasons, it is important that only you have access to the private key. Use this command to restrict the directory access to yourself:
`chmod go-rwx ~/.oci/oci_api_key.pem`Make a note of the private key, which you use to configure Oracle tenancy in the CloudHealth platform.
For Public key:
-
Generate a public key:
openssl rsa -pubout -in ~/.oci/oci_api_key.pem -out ~/.oci/oci_api_key_public.pem -
Copy the public key content to the clipboard using pbcopy, xclip, or a similar tool. For example, run this command if you are using pbcopy:
cat ~/.oci/oci_api_key_public.pem | pbcopyMake a note of the public key, which you use later to configure the CloudHealth user in the Oracle console.
Add Public Key to CloudHealth User
-
In the Oracle console, open the left navigation menu. Go to Identity & Security and select Users.
-
Select the CloudHealth user name from the list.
-
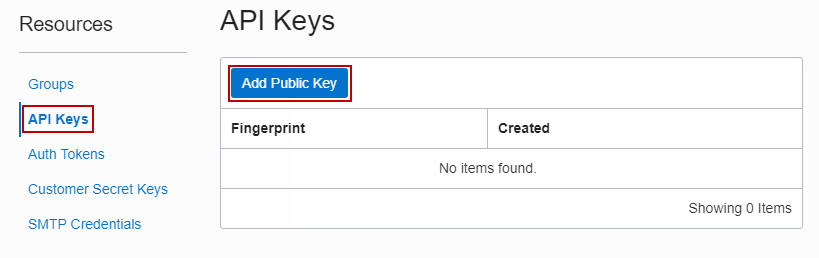
From the left menu, select API Keys and click Add Public Key.
- In the Public Key text box, upload the public key generated in the Generate API Signing Key section.
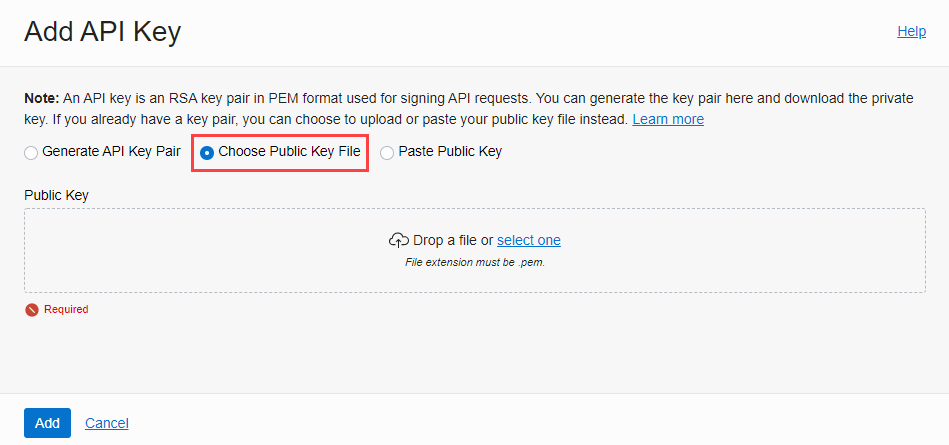
For accuracy, it is recommended to upload the public key file rather than to paste the public key.
- Click Add.
Add CloudHealth User to a Group
In Oracle Cloud, infrastructure access is granted at the group or compartment level and not to individual users. Therefore, the CloudHealth user must be a member of the user group to which the IAM policies are attached. IAM policies grant required permissions to the user group to access the Oracle Object Storage bucket.
Create a new user group or add the CloudHealth user to an existing user group.
Create a New User Group for a CloudHealth User
-
In the Oracle console, from the left navigation menu, go to Identity & Security and select Groups.
-
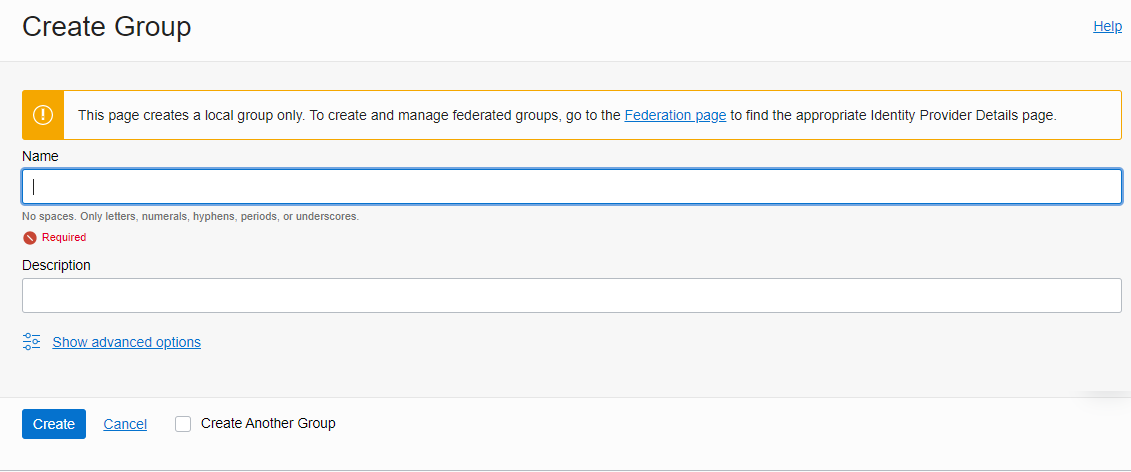
Click Create Group.
-
Enter a name for the group, add a description, and click Create.
-
Click the newly created group name.
-
In Group Members section, click Add User to Group. Select the CloudHealth user name from the dropdown list.
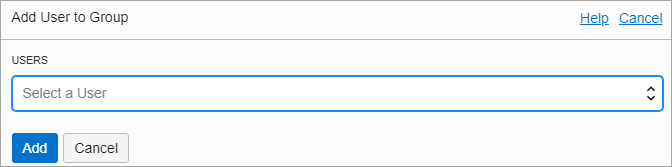
- Click Add.
Add a CloudHealth User to an Existing User Group
-
In the Oracle console, from the left navigation menu, go to Identity & Security > Groups.
-
Select the group name to which you want to add the CloudHealth user.
-
Click Add User to Group. Select the CloudHealth user name from the dropdown list and click Add.
Create Access Policies
Create an IAM policy using the following policy statements and attach it to the user group to which the CloudHealth user belongs.
Cost and Usage Report Policy Statements
These policy statements enable the CloudHealth platform to access the Cost and Usage report located in Oracle-owned Object Storage Bucket.
define tenancy usage-report as ocid1.tenancy.oc1..aaaaaaaaned4fkpkisbwjlr56u7cj63lf3wffbilvqknstgtvzub7vhqkggqendorse group MyGroupName to read objects in tenancy usage-report
VM Collection Policy Statement
This is a CloudHealth specific policy statement that grants required privileges to the platform for collecting VM Assets at the tenancy level.
ALLOW GROUP <MyGroupName> to read instance-family IN TENANCY
This policy statement allows the CloudHealth platform to collect the list of your Oracle Cloud resources and its metadata information such as VM names, user-defined tags, etc. VM here refers to Oracle Cloud Infrastructure VM instance.
Configure IAM Policy for the User Group
Prerequisites
- You have created a CloudHealth user.
- You have added the CloudHealth user to a user group.
Complete the following steps to configure IAM policy to the user group to which the CloudHealth user belongs:
-
In the Oracle console, from the left navigation menu, go to Identity & Security and select Policies.
-
In the left navigation menu, select the Compartment from the dropdown. Select the (root) compartment only.
Create access policies only in the root compartment and not in child compartment.
-
Click Create Policy.
-
Enter the policy name and description, and activate the Show manual editor toggle.
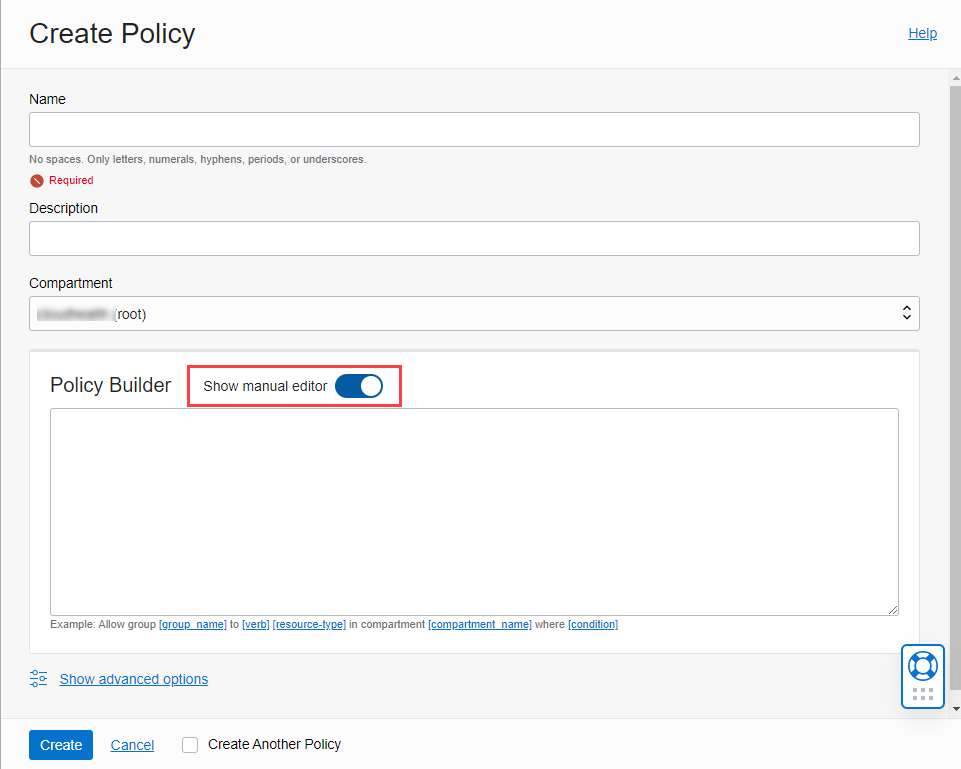
- In the Policy Builder text box, copy and paste the following policy statements. Add only one policy statement per line.
Cost and Usage Report Policy Statements
-
define tenancy usage-report as ocid1.tenancy.oc1..aaaaaaaaned4fkpkisbwjlr56u7cj63lf3wffbilvqknstgtvzub7vhqkggqDo not change the OCID. Add this policy statement as it is.
-
endorse group MyGroupName to read objects in tenancy usage-reportReplace MyGroupName with the appropriate group name. For example:
endorse group CloudHealth Integration group to read objects in tenancy usage-report. In this ‘CloudHealth Integration group’ is the name of a group.
VM Collection Policy Statement
-
ALLOW GROUP MyGroupName to read instance-family IN TENANCYReplace MyGroupName with the appropriate group name. For example:
ALLOW GROUP CloudHealth Integration group to read instance-family IN TENANCY. In this ‘CloudHealth Integration group’ is the name of a group.
> For the __Inspect__ type of access, add the following policy statement.
ALLOW GROUP <MyGroupName> to inspect all-resources IN TENANCY. This policy statement restricts access to any confidential information or user-specified metadata related to the resource.
- Click Create.
The Policy Detail page will display newly added policy statements.
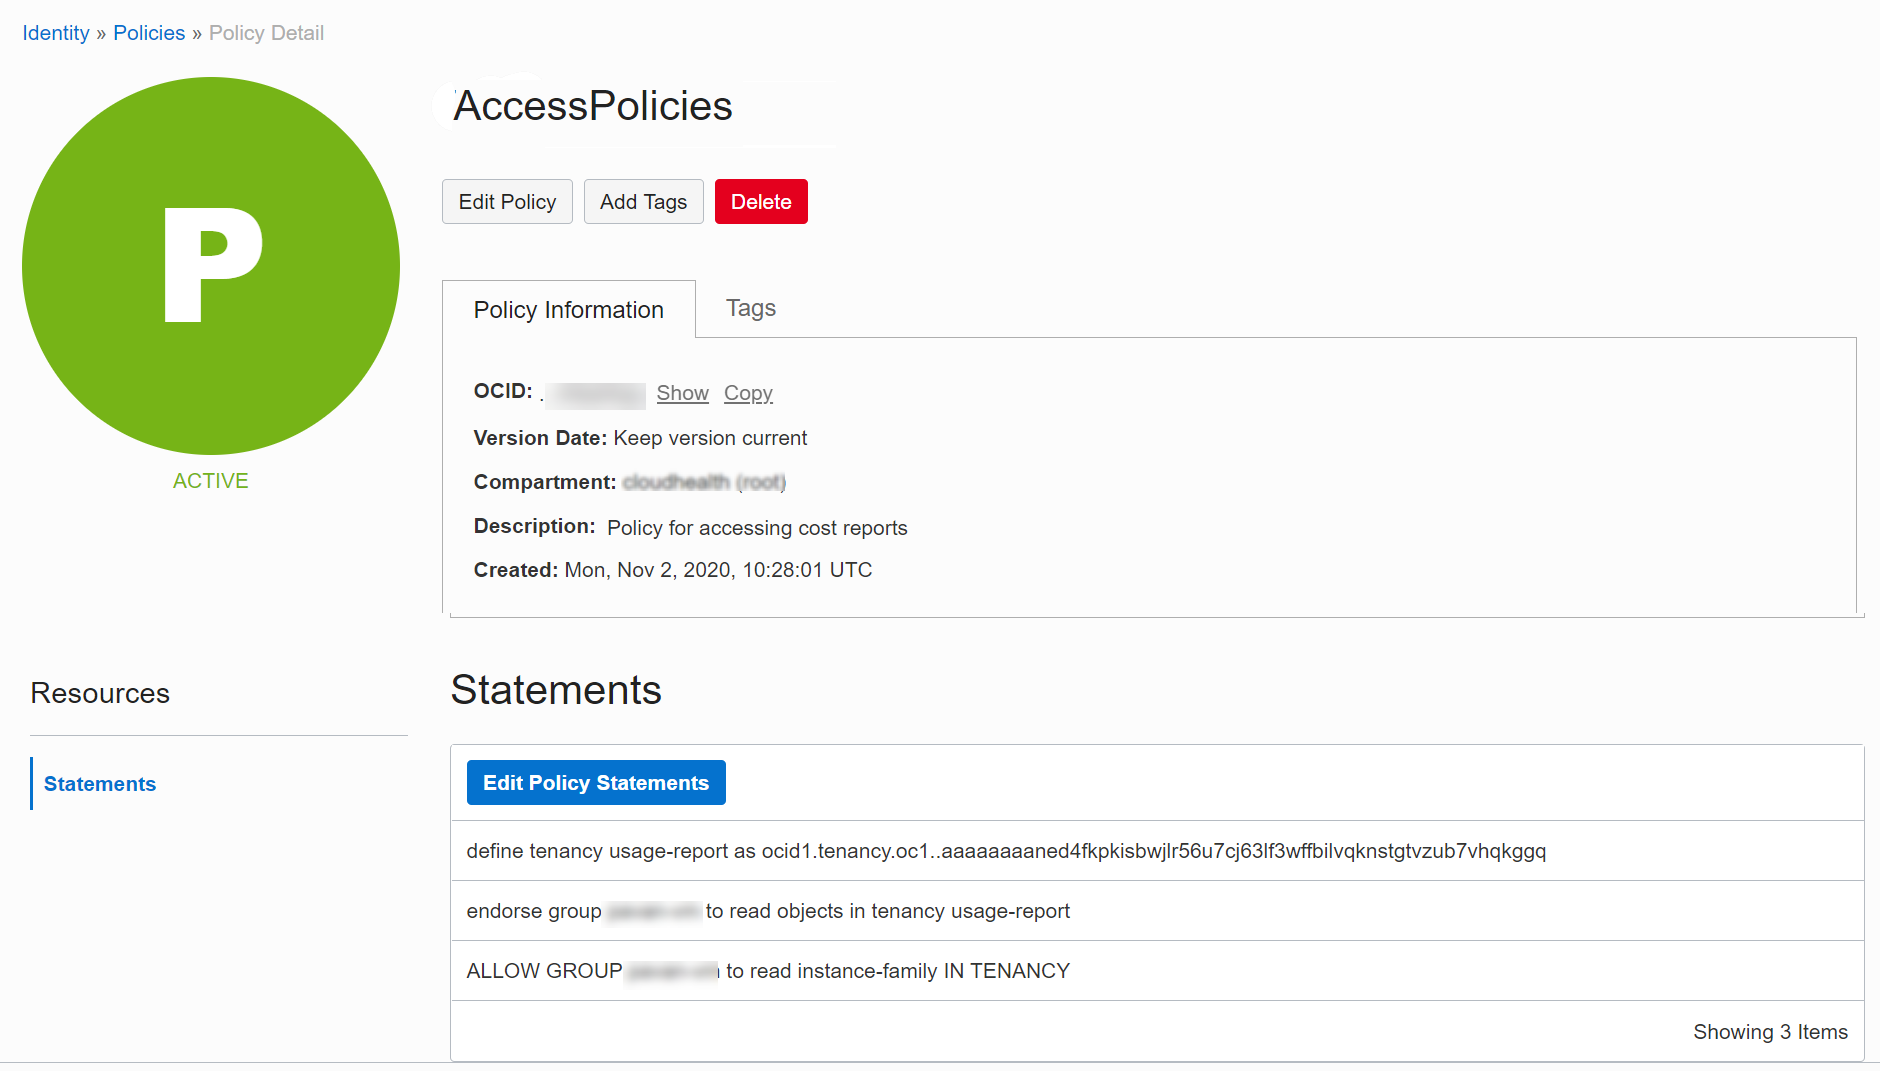
- Ensure that your policy statements are free of syntax errors.
- Create a single IAM policy adding all the policy statements, or create Cost and Usage Report policy and VM Collection policy separately. Make sure to attach the access policies to the user group to which the CloudHealth user belongs.
Configure Oracle Cloud Tenancy in CloudHealth
Prerequisites
- The CloudHealth user is added to a user group in the Oracle console.
- The private Key (with no passphrase).
From the CloudHealth platform, configure Oracle Cloud tenancy:
- Log in to the CloudHealth platform, and select Setup > Accounts > Oracle Cloud Tenancies.
-
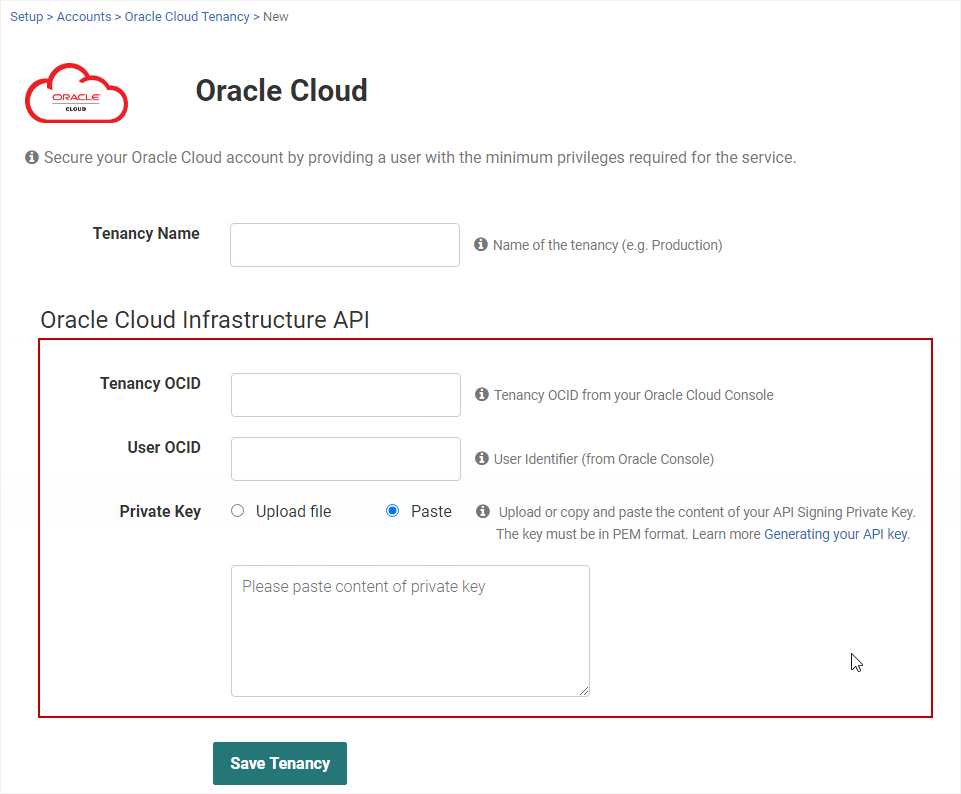
Provide a Tenancy Name.
-
In the Oracle Cloud Infrastructure API section, enter the following information:
Tenancy OCID
i) In the Oracle console, expand the left navigation menu. Select Governance and Administration and then Tenancy Details.
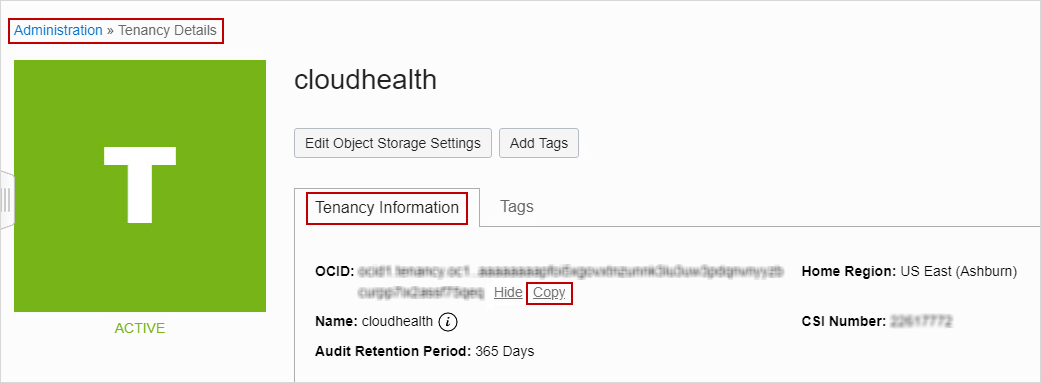
ii) From the Tenancy Information section, copy the Tenancy OCID to the clipboard.
iii) Go to the CloudHealth platform, paste the Tenancy OCID copied from the Oracle console.
User OCID
i) In the Oracle console, expand the left navigation menu. Select Identity & Security, and then Users.
ii) Select the CloudHealth user name from the list.

iii) In the User Information section, copy the User OCID to the clipboard.
iv) Go to the CloudHealth platform, paste the User OCID copied from the Oracle console.
Private Key
In the CloudHealth platform, enter the private key (with no passphrase) generated in the Generate API Signing Key section.
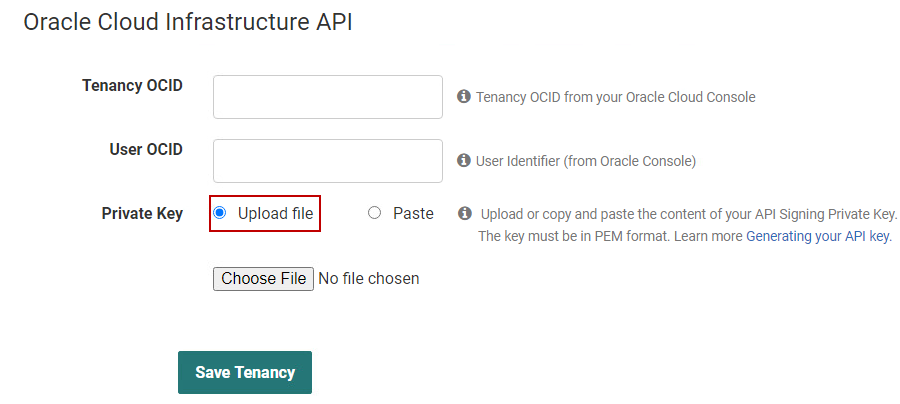
For accuracy, it is recommended to select Upload File option to upload the content of your API Signing Private Key.
- Click Save Tenancy.
Oracle Cloud Tenancy Status
The tenancy appears on the Setup > Accounts > Oracle Cloud Tenancy page with one of the following statuses:
- Healthy : The tenancy configured successfully.
- Critical : The tenancy settings were not configured correctly, or the platform is unable to access the cost details from Oracle.
- Warning : The platform is unable to collect Oracle Cloud Infrastructure VM instances.
After the configuration is complete, CloudHealth collects Oracle Cloud data every 30 minutes.