topics
- Home
- Getting Started
- VMware Cloud Account Setup
Enable VMware Cloud Accounts in CloudHealth (Beta)
January 7, 2025
Complete the following steps to enable your VMware Cloud (VMC) account with CloudHealth.
Generate API token for VMware Cloud Services Platform
-
Log in to VMware Cloud Services platform.
-
In the top-right corner of the platform, click your name and select My Account.
-
On the My Account page, select the API Tokens tab and click Generate a New API Token.
-
Enter the following information.
- Token Name
- Token TTL
-
In the Define Scopes section, select the following roles.
- Organization Roles: Select Billing Read-only and Organization Owner.
- Service Roles: Select VMware Cloud on AWS.

- Click Generate and download the token.
Token TTL (Time To Live) is the time period for which an API token is valid. Before the TTL of the API token expires, generate a new API token, and update its value in your VMware Cloud Services organization. This action prevents API call failures resulting from an expired API token.
Configure VMC vCenter for CloudHealth Access
- Login to your CSP account and navigate to the software-defined data center (SDDCs) in your VMC service. Then click View Details.
- Select the Networking and Security tab. From the left menu, select Inventory > Groups, click Management Groups, and click Add Group.
- Name the group, set the Member Type to IP Address, and enter the IP address of the vCenter VM under Members. Then click Save.

This managment group can now be used to create inbound and outbound firewall rules with source and destination access for your vCenter.
- From the left menu, select Security > Gateway Firewall. Then click Add New Rule.
- Name the rule, and make the following selections for the inbound rule:
- Source: Any or Specific network subnet from where you want to access your VMC vCenter
- Destination: vCenter with Services that you want to select under it.
- Make the following selections for the outbound rule:
- Source: vCenter
- Destination: Any

Configure VMC vCenter Hosted CloudHealth Aggregator VM
Prerequisites
-
The CloudHealth Aggregator VM should be able to access and reach the CloudHealth server at port 443. Verify that access is available by running the following command:
curl <https://api.cloudhealthtech.com/v1/health>A response of
"status":"Happy"indicates that access is available. If you do not see this status, configure a Firewall rule for the aggregator. -
The CloudHealth Aggregator VM should be accessible via SSH either from outside the VMC network or from within the VMC from another VM.
Configure Outbound Traffic
You do not need to configure NAT for outbound traffic, because VMC provides a default source NAT rule to translate the source IP of the VM into the public IP assigned to your VMware Cloud on AWS.
The steps in this process allow the VM to have internet access. This internet access is required so that the CloudHealth Aggregator VM can download the required JAR file for installation and push the collected vCenter data to CloudHealth.
- Login to your CSP account and navigate to the software-defined data center (SDDCs) in your VMC service. Then click View Details.
- Select the Networking and Security tab. From the left menu, select Inventory > Groups and click Workload Groups. Provide the following information to create a group.
- Name of the group
- Set Member Type as IP Address
- Set Members to the internal IP address of the CloudHealth Aggregator VM

- From the left menu, select Gateway Firewall > Compute Gateway. Click Add Rule. Specify the following information.
- Source: Set as vCenter_VMs
- Destination: Set as Any
- Services: Specify SSH, HTTP, and HTTPS

Configure Inbound Traffic (Optional)
These steps allow the CloudHealth Aggregator VM to be accessible over the internet outside the VMC network. Skip this step if you do not want to use a public IP address to access your CloudHealth Aggregator VM. In that case, ensure that you can access the VM (SSH into it) internally through any other VM in your VMC vCenter.
- Login to your CSP account and navigate to the software-defined data center (SDDCs) in your VMC service. Then click View Details.
- Select the Networking and Security tab. From the left menu, select System > Public IPs and click Request New IP. Name the public IP.

- From the left menu, select NAT and click Add Rule. Enter the following information to configure the rule.
- Name the rule
- Public IP: Use the Public IP you previously created
- Service: Specify as SSH
- Internal IP: Specify the internal IP of your workload VM
- Firewall: Set to Match Internal Address

- Select the Networking and Security tab. From the left menu, select Inventory > Groups and click Workload Groups. Provide the following information to create a group.
- Name of the group
- Set Member Type as IP Address
- Set Members to the source network IP address

- From the left menu, select Gateway Firewall > Compute Gateway. Click Add Rule. Specify the following information.
- Source: Set as Source_Network_IP/Subnet
- Destination: Set as vCenter_VMs
- Services: Specify SSH

Enable VMware CSP Organizations
Why You Should Enable CSP Organizations
- To provide CloudHealth access to cost and usage information, which is only available through CSP Organizations
- To be able to flter and customize VMC reports in CloudHealth so that you can perform granular analyses
Prerequisites
- You have access to VMware Cloud Services
- You can access the refresh token for the Organization from the CSP Console.
Connect CSP Organization to CloudHealth Platform
-
Login to the CloudHealth platform, and select the VMware Cloud tab from the top. From the left menu, select Setup > Accounts > CSP Organizations.

Click Add VMware CSP Organization.
-
Enter the Refresh Token for the Organization that you want to connect.
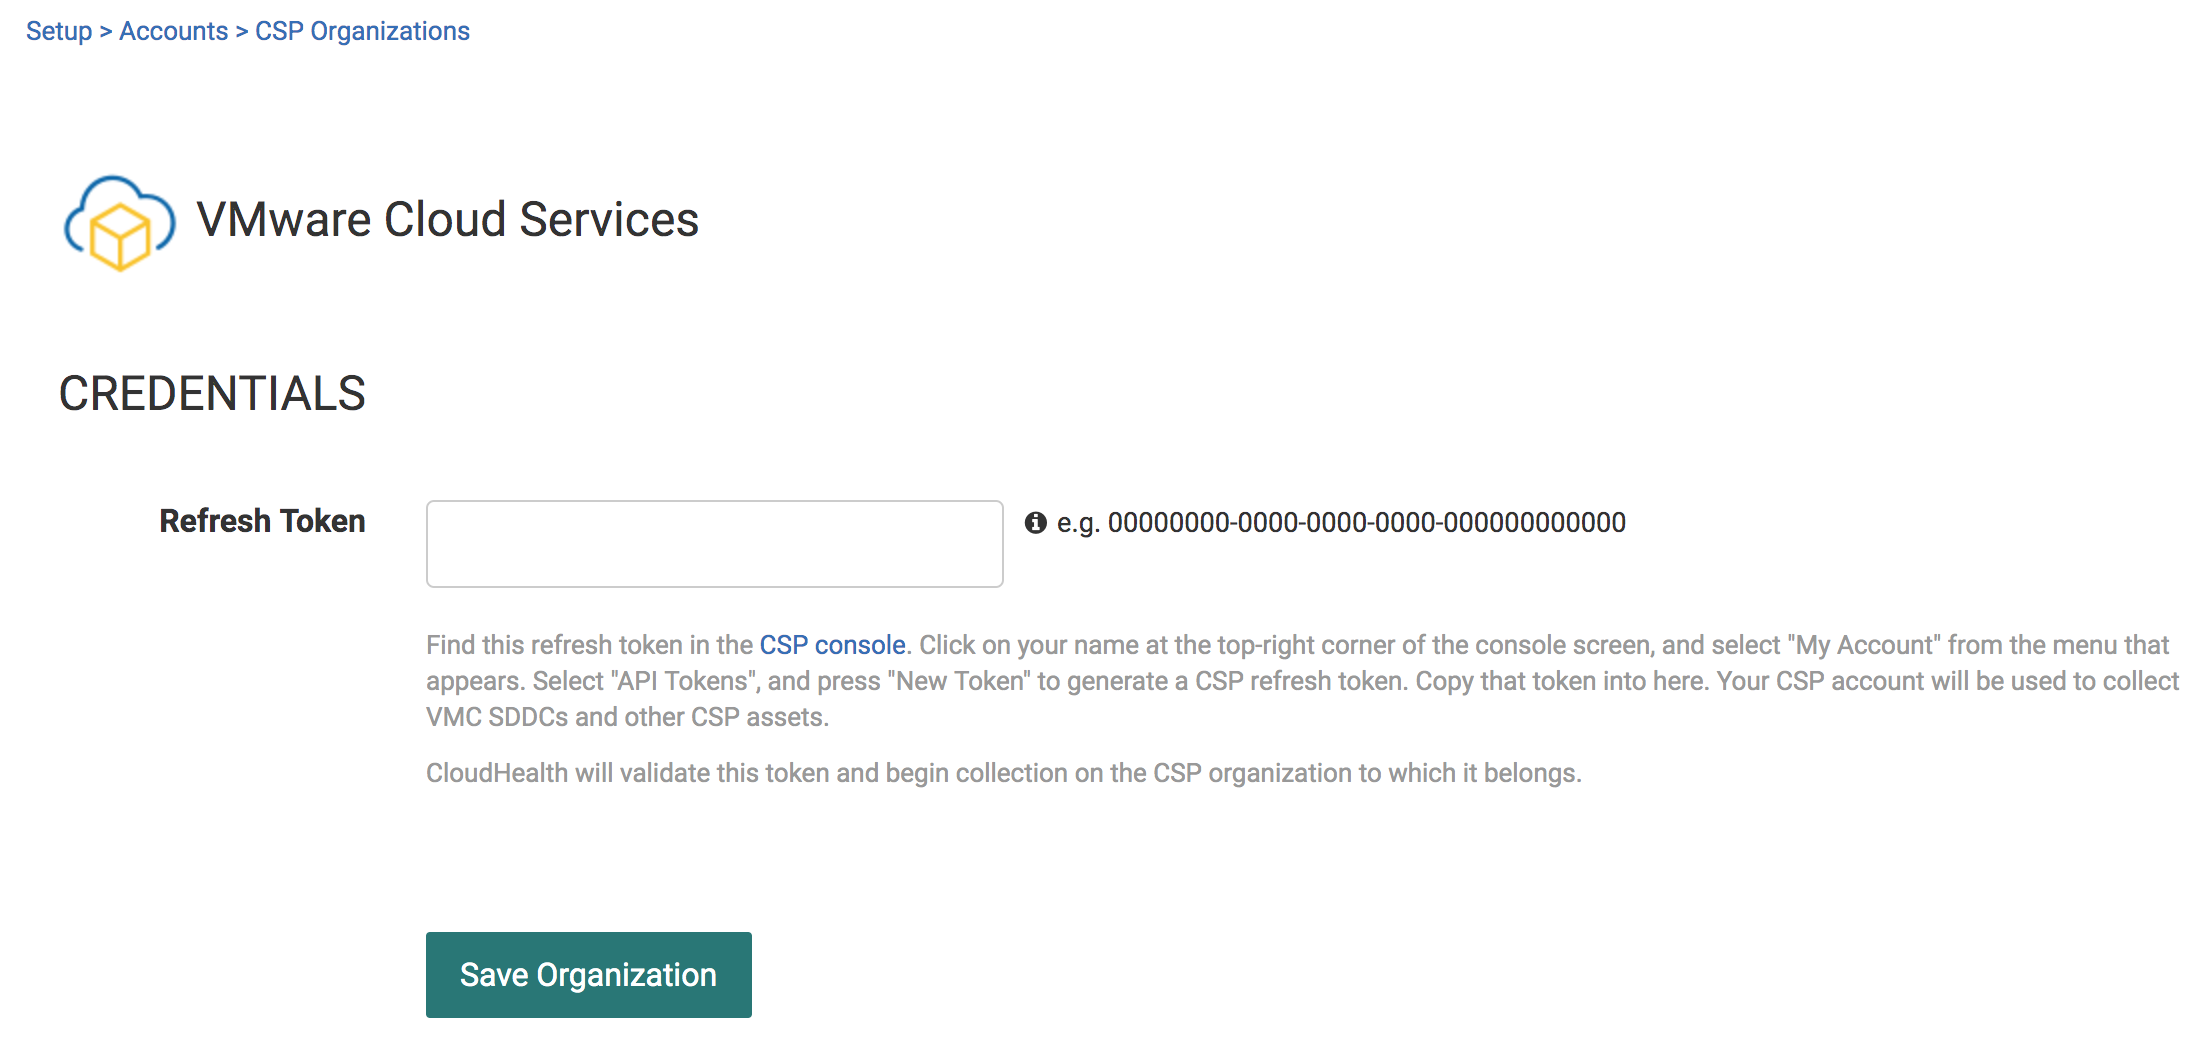
-
Click Save Organization. The CloudHealth Platform validates the token and displays a message when the process is successful. Around 20 min after token valiation, the CloudHealth Platform starts collecting organization-level SDDC data.
Enable vCenter Account
Prerequisites for CloudHealth Aggregator Deployment
- Verify network connectivity from the CloudHealth Aggregator VM before using it for collecting data from vCenter.
Perform the following checks.
-
Can the CloudHealth Aggregator VM access the CloudHealth API endpoint
https://api.cloudhealthtech.com?Run this command.
curl https://api.cloudhealthtech.com/v1/healthVerify that you receive a response similar to this one.
{ "status":"Happy", "time":"2020-02-19 06:37:54 +0000", "running_version":"0f3564cb76ded241cc10672ad431b2d641b2763c", "tag":"20200211.01" } -
Can the CloudHealth Aggregator VM access the VMC vCenter REST API endpoint? Run through the scenario that is applicable to your environment.
- Scenario 1: The CloudHealth Aggregator VM uses a proxy environment with authentication.
curl -v -x [protocol://][user:password@]proxyhost[:port] --request POST --url https://VC_FQDN/rest/com/vmware/cis/session -u 'test_user@vmc.local:password'- Scenario 2: The CloudHealth Aggregator VM uses a proxy environment without authentication.
curl -v -x [protocol://]proxyhost[:port] --request POST --url https://VC_FQDN/rest/com/vmware/cis/session -u 'test_user@vmc.local:password'- Scenario 3: The CloudHealth Aggregator VM does not use a proxy environment.
curl -v --request POST --url https://VC_FQDN/rest/com/vmware/cis/session -u 'test_user@vmc.local:password'
In each scenario, the command should return a 200 OK response.
- You will need a vCenter user with read-only role having permissions to access vCenter APIs.
Step 1: Configure and Download CloudHealth Aggregator
VMware environments tend to be set up in a private data center that is behind corporate firewalls. Configure and download a Virtual Appliance for the CloudHealth Aggregator.
The aggregator provides the CloudHealth Platform visibility into your data center assets.
-
Login to the CloudHealth platform. Select the VMware Cloud tab from the top. From the left menu, select Setup > Accounts > vCenter. Then click Add Account.
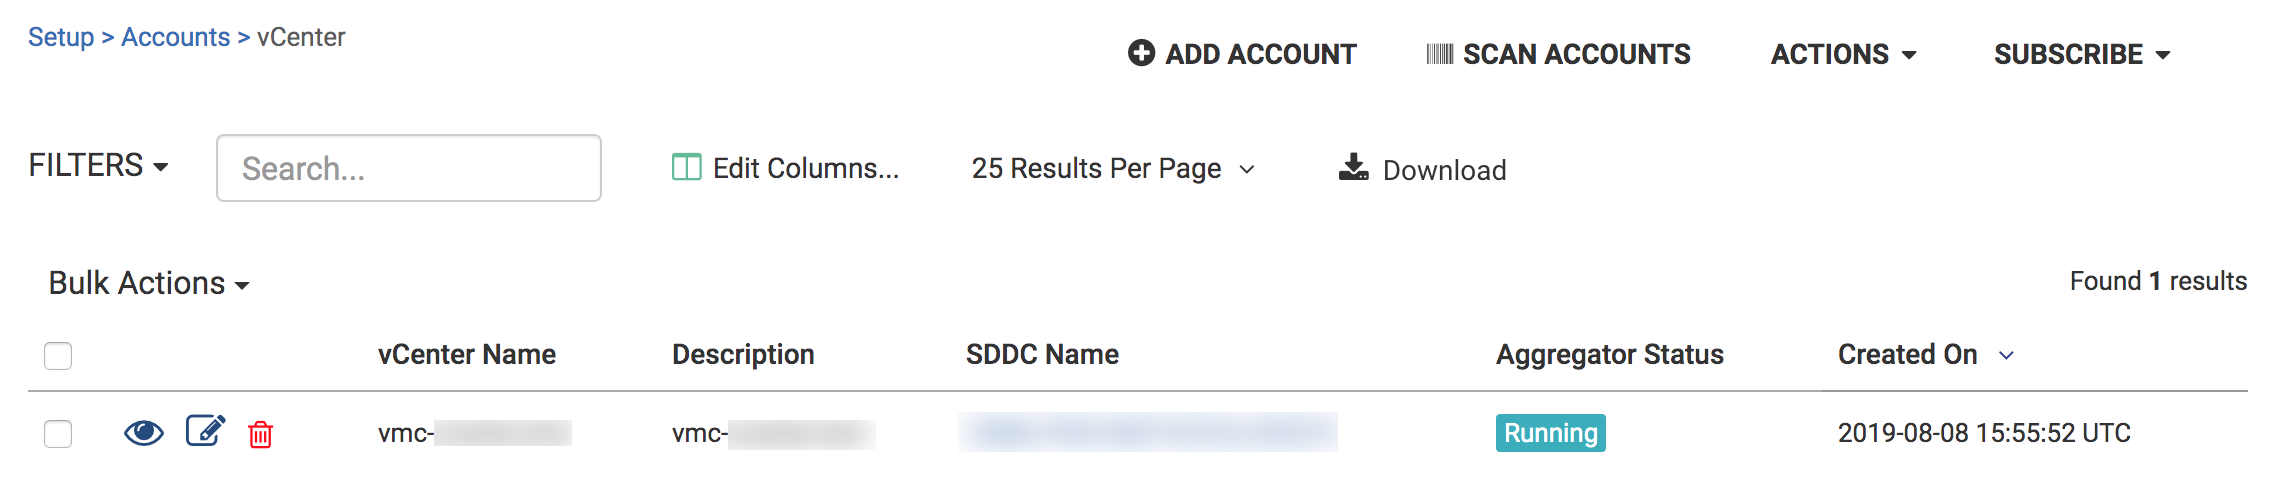
The New vCenter configuration page appears. Enter the following information in the setup form.
- Name: Friendly name for the account.
- Description: Description for the account.
- CSP Organization ID: Enter the CSP Organization ID.
- Software Defined Data Center (SDDC) ID: Enter SDDC ID.
- Software Defined Data Center (SDDC) Name: Enter SDDC name.
- Host Name: Fully qualified domain name (FQDN) of the vCenter server.
- Username: Name of read-only user to connect to the vSphere API.
- Password: Password for read-only user.
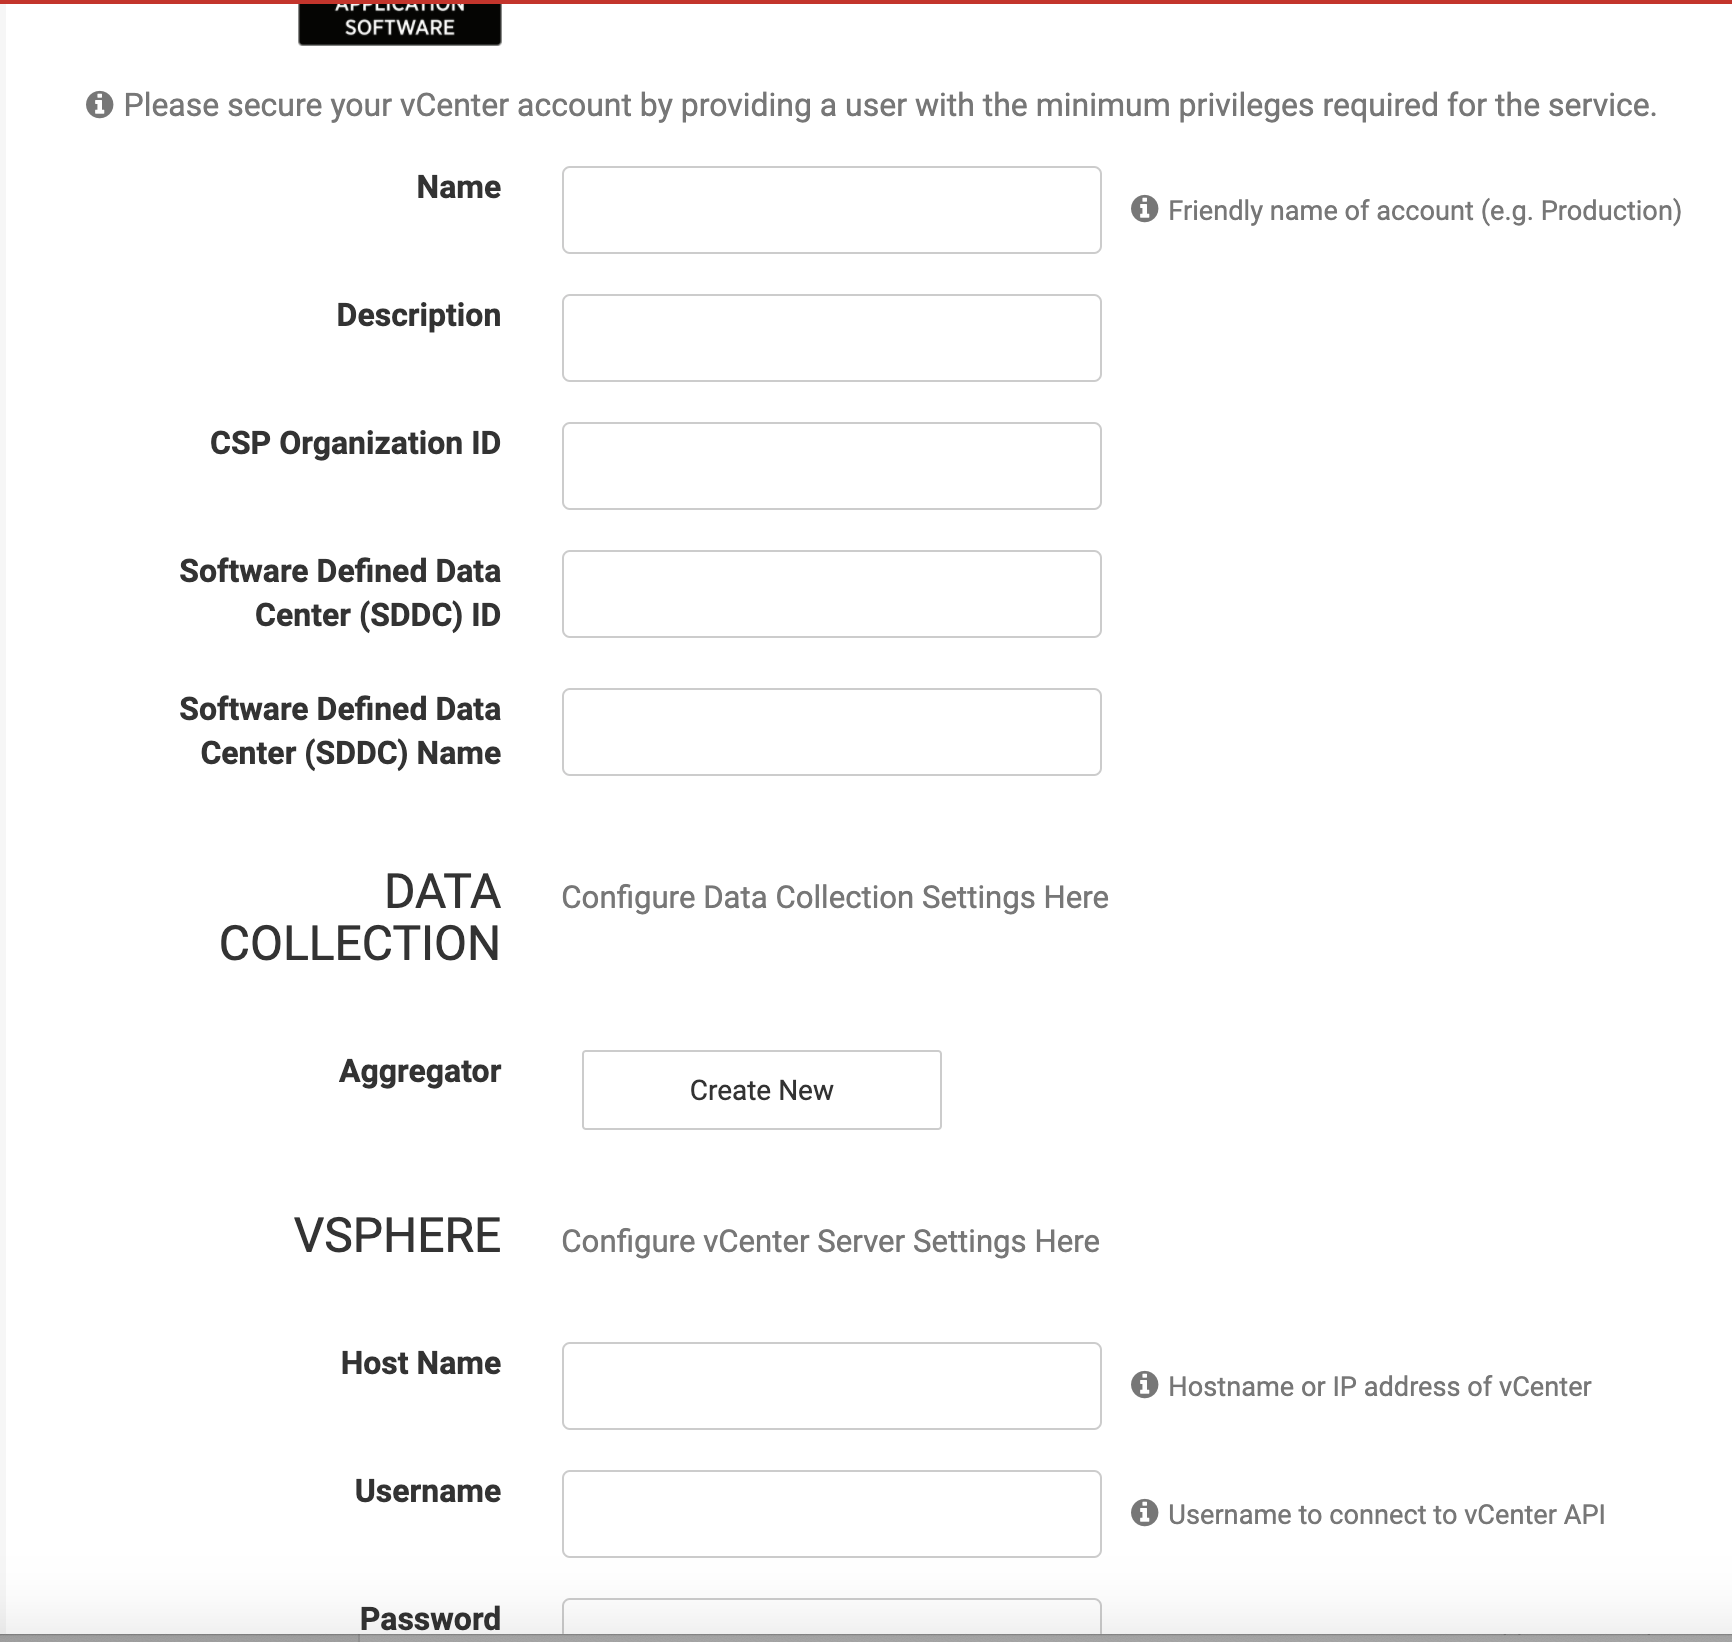
-
If you have already configured an aggregator, select it from the Aggregator dropdown. Otherwise, click Create New.
To select an aggregator, you must have created and configured at least one aggregator already. To configure an aggregator, see Configure CloudHealth Aggregator for VMware Environment.

CloudHealth performs the following actions.
- Populates the database and generates an aggregator using the name you provided for the vCenter account.
- Generates and displays an installer token.
- Provides a download link for the OVA.
-
Click the Download OVA link.
The Save Account button remains disabled until you install the OVA in your VMware environment.

Step 2: Complete vCenter Account Creation
Once you have downloaded and installed the CloudHealth Aggregator, the Save Account button becomes active. Click it to create the vCenter account in the CloudHealth platform.